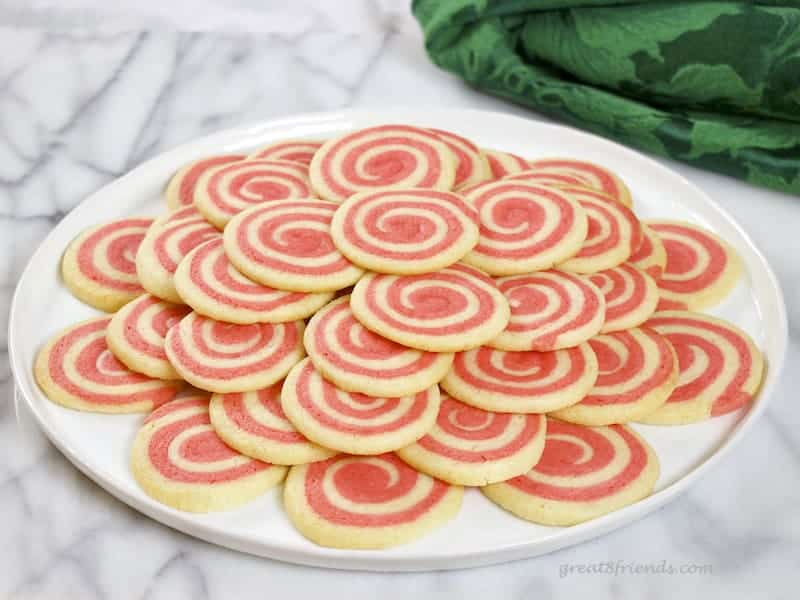
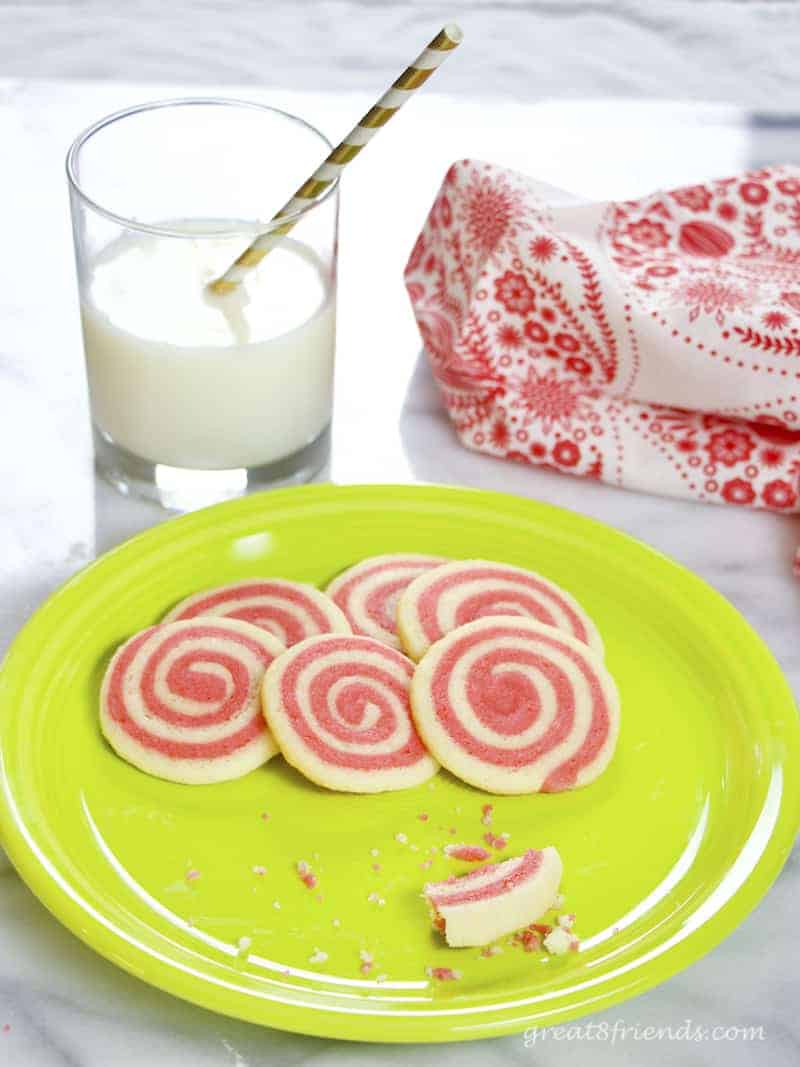
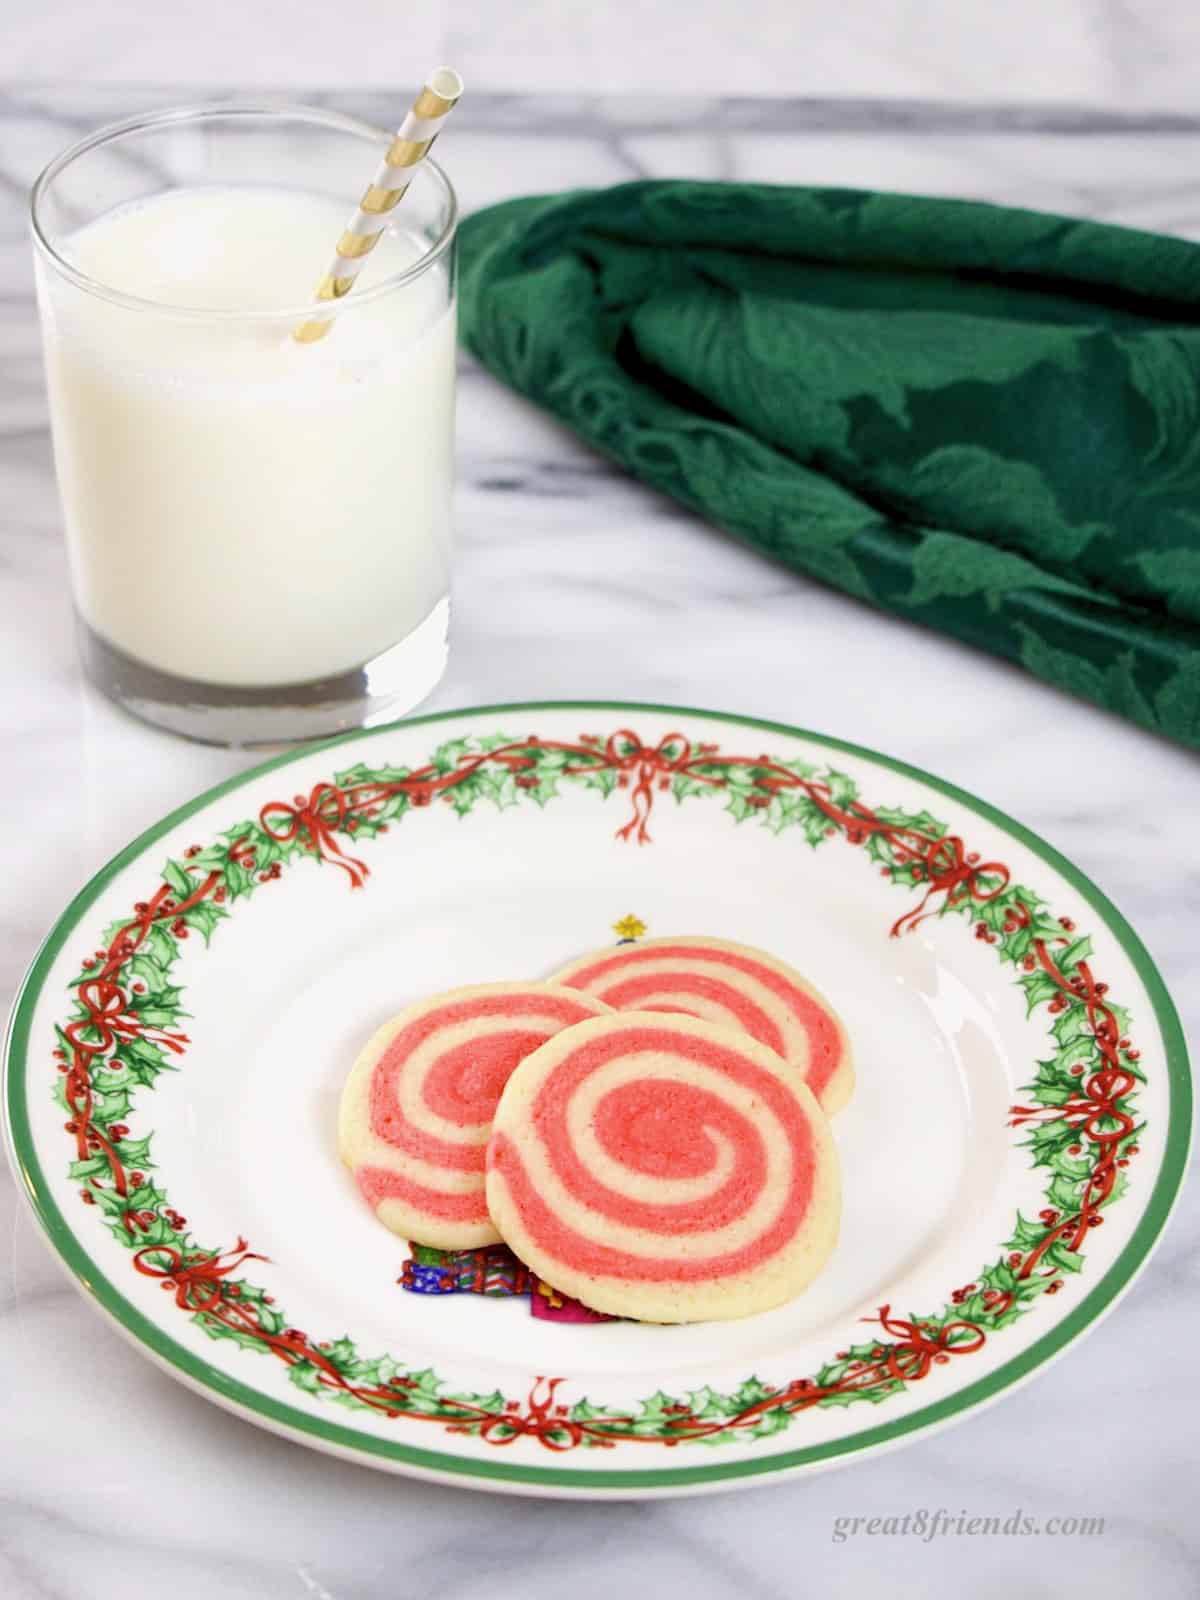
These beautiful swirled Peppermint Pinwheel Cookies are the perfect holiday treat. They add a lovely pop of color to a platter of Christmas cookies and taste as yummy as they look!

Cookies!! I've always loved cookies, eating them AND making them. My grandma used to bake with me at Christmas and we'd make a huge platter of assorted cookies.
These yummy Peppermint Pinwheel Cookies add color and fun to any plate of holiday cookies. And did I say they're delicious?

Every year Debbie hosts a lively Cookie Exchange and this recipe makes the perfect amount to take and share.
Among the Snickerdoodles, Brownies, and Snowballs on a tray Peppermint Pinwheel Cookies look adorable! Every dessert buffet needs a plate of festive Christmas cookies!
Some Gr8 things about this recipe:
- This yields a large quantity, about 78 cookies!
- The rolls can be made and frozen before slicing and baking so you can have freshly baked cookies any time. See the Gr8 Do Ahead Tips in the recipe.
- The peppermint flavor makes them perfect for dipping into a mug of hot chocolate!
- Santa LOVES these taste of the season cookies. And your kids or grandkids can help you slice them to bake for the jolly guy!

How to Make a Perfect Pinwheel
- Start this ahead of time because this has to go through two chilling times.
- Make dough and divide in half.
- Color one half of the dough red. I recommend gel food coloring, the pigment is more intense. If you use the liquid, you may need a lot to get a deep color and that will make the dough sticky.
- Wrap each half and refrigerate for at least an hour.
- Now for the rolling - don't be afraid to use flour on the rolling pin as needed to keep the dough from sticking.
- Roll out the non-colored dough on a piece of parchment paper to a 10"x16" rectangle. Move this to a cookie sheet (rimless works best) and refrigerate while you deal with the red dough.
- Take another piece of parchment and roll out the red dough to the same 10"x16" rectangle.
- Use a pastry brush and lightly brush some milk on the white, uncolored dough. The milk acts as the "glue."
- Okay, this is the tricky part... Carefully lift up the parchment containing the red dough and flip it on to the white dough, lining it up as best you can. (You only get one shot, so be careful, once the dough is on top, it's hard to move.)
- Peal the parchment off, sprinkle the dough lightly with flour and use the rolling pin to make an 11"x17" rectangle.
- Cut the dough in half the short way so you have 2 pieces, each about 8-½"x11". These will be your two rolls.
- Brush the top of each of these pieces with milk.
- Start with the long side and carefully roll the dough. When you finish you should have a roll that is about 11" long. Do this with both rolls.
- Wrap each roll in plastic and refrigerate for another hour. The easy way to do this to prevent a flat edge, is to roll up a couple of dishtowels and rest the dough between two rolled towels.
- About 30 minutes before baking, heat the oven to 400°F and line a couple of cookie pans with parchment paper.
- Time to slice and bake! Use your sharpest knife and cut ¼" thick slices. (I actually have a ruler handy for 2 reasons: 1) one-quarter inches is smaller than I think; and, 2) the ruler reminds me to keep the same measurement. Otherwise, my slices get thicker as I go!)
- Lay the slices on the prepared cookie sheet and make sure they are about 1-½" apart, they do spread a bit.
- Bake!
- Once you take them out of the oven place the pan on a cooling rack. Let the cookies cool for about 10 minutes, then use a thin spatula to remove the cookies from the pan and place them on another rack to cool completely. This timing is important and will keep the cookies in shape.
Can I Freeze These Cookies?
YES! Freeze one or both rolls for up to two months. When ready to bake, remove from the freezer, slice and bake.
You can also easily freeze these after baking. Just be sure to seal them tightly as the peppermint essence can easily seep into other food if not tightly sealed.
Check out all of our cookie freezing tips.
More Cookie Recipes
- Chocolate Peanut Butter Kiss Cookies - BONUS: These are no-bake!
- Biscotti - a classic!
- Nutty Crescents - these are fun to make!
- Snickerdoodles - a MUST at the holidays or any day!
- Chocolate Chip - because EVERYONE loves them!
Perfect Peppermint Pinwheel Cookies
Ingredients
- 2 ½ cups flour
- 1 teaspoon baking powder
- ¾ teaspoon salt
- 1 cup butter, at room temperature
- 1 cup granulated sugar
- 1 large egg
- 1 teaspoon peppermint extract
- ½ teaspoon vanilla
- Red food coloring, gel food coloring is best
- 1 Tablespoon milk, to use as "glue"
Instructions
- Whisk the flour, baking powder, and salt together in a medium bowl to combine, then set aside.
- In the bowl of your electric mixer beat the butter and sugar. Add the egg, the peppermint and vanilla extracts and beat until well mixed.
- Pour in the flour and mix on low speed until all ingredients are combined.
- Divide the dough in half and use enough food coloring in one half to make the dough as red as you prefer. I use gel food color. The liquid food coloring can dilute the dough and make it stickier.
- Wrap each half in plastic and refrigerate for at least an hour.
- On a piece of parchment paper roll out the non-colored half to a 10"x16" rectangle and set aside. (I put mine on a rimless baking sheet and return it to the fridge.) Then roll out the red half to 10"x16" on a second sheet of parchment paper. Use flour as needed to keep the rolling pin from sticking.
- Lightly brush the milk onto the non-colored half of the dough.
- Carefully lift up the red dough and flip it over onto the dough brushed with milk. Try to line up the edges.
- Lightly sprinkle the top of the red dough with flour and use a rolling pin to roll the two pieces together until the size is about 11"x17". With a sharp knife, cut in half across the short way so you have 2 pieces, each about 8-½"x11".
- Brush the top of each half with milk and roll up tightly starting on the long (the 11") side. Use the parchment to help you lift up the dough. Once both rolls are done, they should each be about 11" long.
- Wrap each roll in plastic wrap and refrigerate for at least an hour. To eliminate a flat side, roll up a couple dish towels to support the rolls in the fridge.
- When the rolls are firm and you are ready to bake, preheat the oven to 400°F.
- Remove one roll from the refrigerator, unwrap, and slice into ¼" thick slices. Try to keep them thin for a crisp, dunk-able cookie. (I use a ruler because ¼" is thinner than I think!)
- Place each cookie onto a parchment lined cookie sheet, about 1-½" apart. They will spread a little.
- Bake for 6 to 8 minutes. Until the edges just barely start to brown... barely.
- Remove the cookie sheet from the oven and place on a cooling rack. After the cookies have cooled for about 10 minutes, remove them from the baking pan onto another cooling rack.
- Repeat with the second roll. OR, freeze the second roll for cookies another day!


Be a Gr8 Friend and tell us what you think!