If you want to make a fun budget friendly Halloween dinner for your family or throw a small dinner party for a couple of friends, I've got some ideas!
I love the holidays because I love change. And decorating for any kind of celebration is a fun way to change it up. And right now, with the pandemic, any kind of diversion is welcome.
Halloween is an easy holiday to keep within a budget for a couple of reasons:
- The holiday centers around kids.
- Candy is the trademark "food."
- It's a casual kind of holiday.
We are fairly quarantined here at our home for various reasons so I'm not venturing into any stores. Normally I love to scour the dollar stores and sale aisles to get see what I can do for the least amount of moolah.
So this year I'm relying on online ordering. And since I want to support local businesses, I'm doing the ordering then picking up my purchases. The store employees will bring your goodies out to the car and put them in your trunk! Actually kind of fun and definitely easy!
So, once I decided to create a fun Halloween table first I went to my stash of "stuff" to see what I already have.
After all the Marie Kondo cleaning up craze, I had gotten rid of a lot of my old Halloween decorations... sigh... who knew we were headed into a pandemic?!?! So I didn't have a lot of things of my own.
Then I went online to find the best deals. But I didn't want to spend a lot of money! I'm a firm believer that you can make things fun on a budget.
How I Set My Halloween Table on a Budget
Let's begin with a color scheme. If you've followed my Gr8 Dinners, you've probably noticed that I love to start with a tablecloth.
A tablecloth can be a neutral background or can begin your pop of color. I have an assortment of various colored cloths that can be used for different occasions. I tend to steer away from specifically themed tablecloths.
My collection has several different white tablecloths and a black one. I decided on a white one because one of the things I found in my stash that I hadn't gotten rid of was this perfect black table runner.
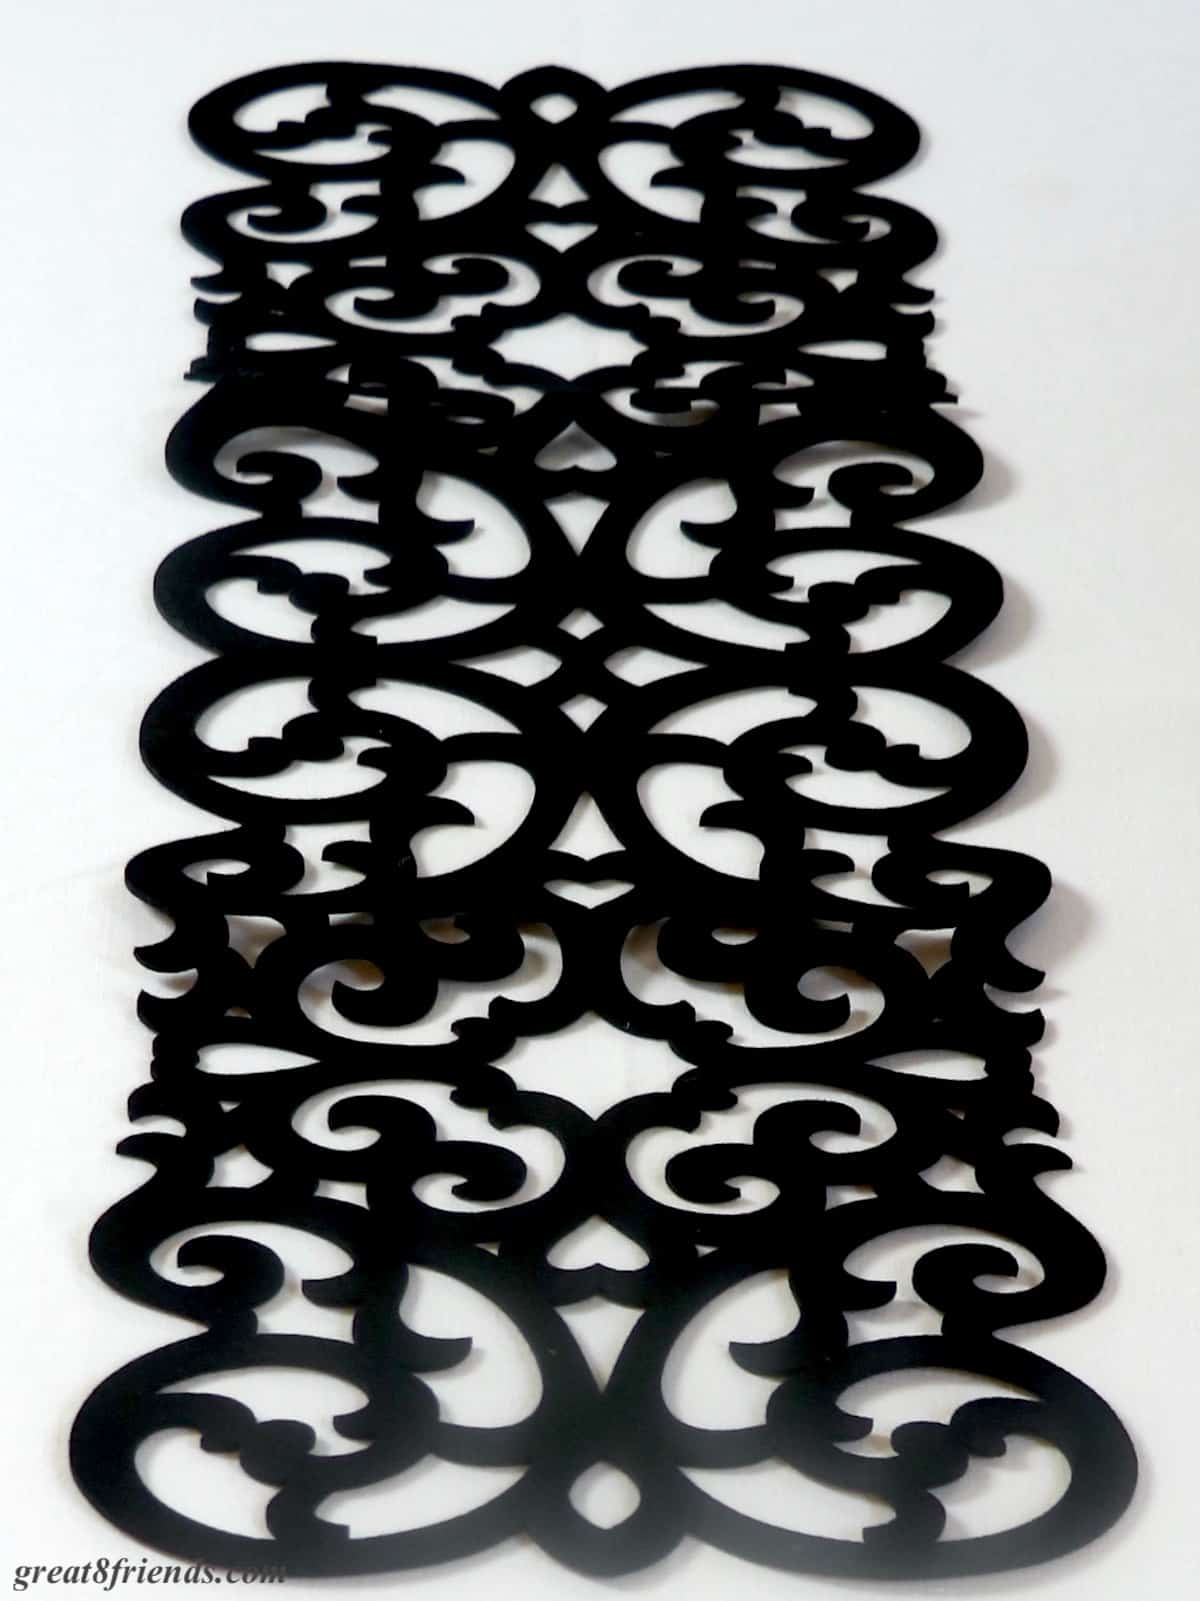
Something similar:
Since this wouldn't show up on a black tablecloth, white it is! But there's still a lot of white table showing which needs to be broken up.
I've got the black and white, and what started this odyssey was halloween, so I'm going to be classic in my color scheme and use orange and a purple accents. You can choose any colors that you want, it's your table!
The Place Settings
A fun and interesting table is all about layers. So let's layer placemats on top of the tablecloth.
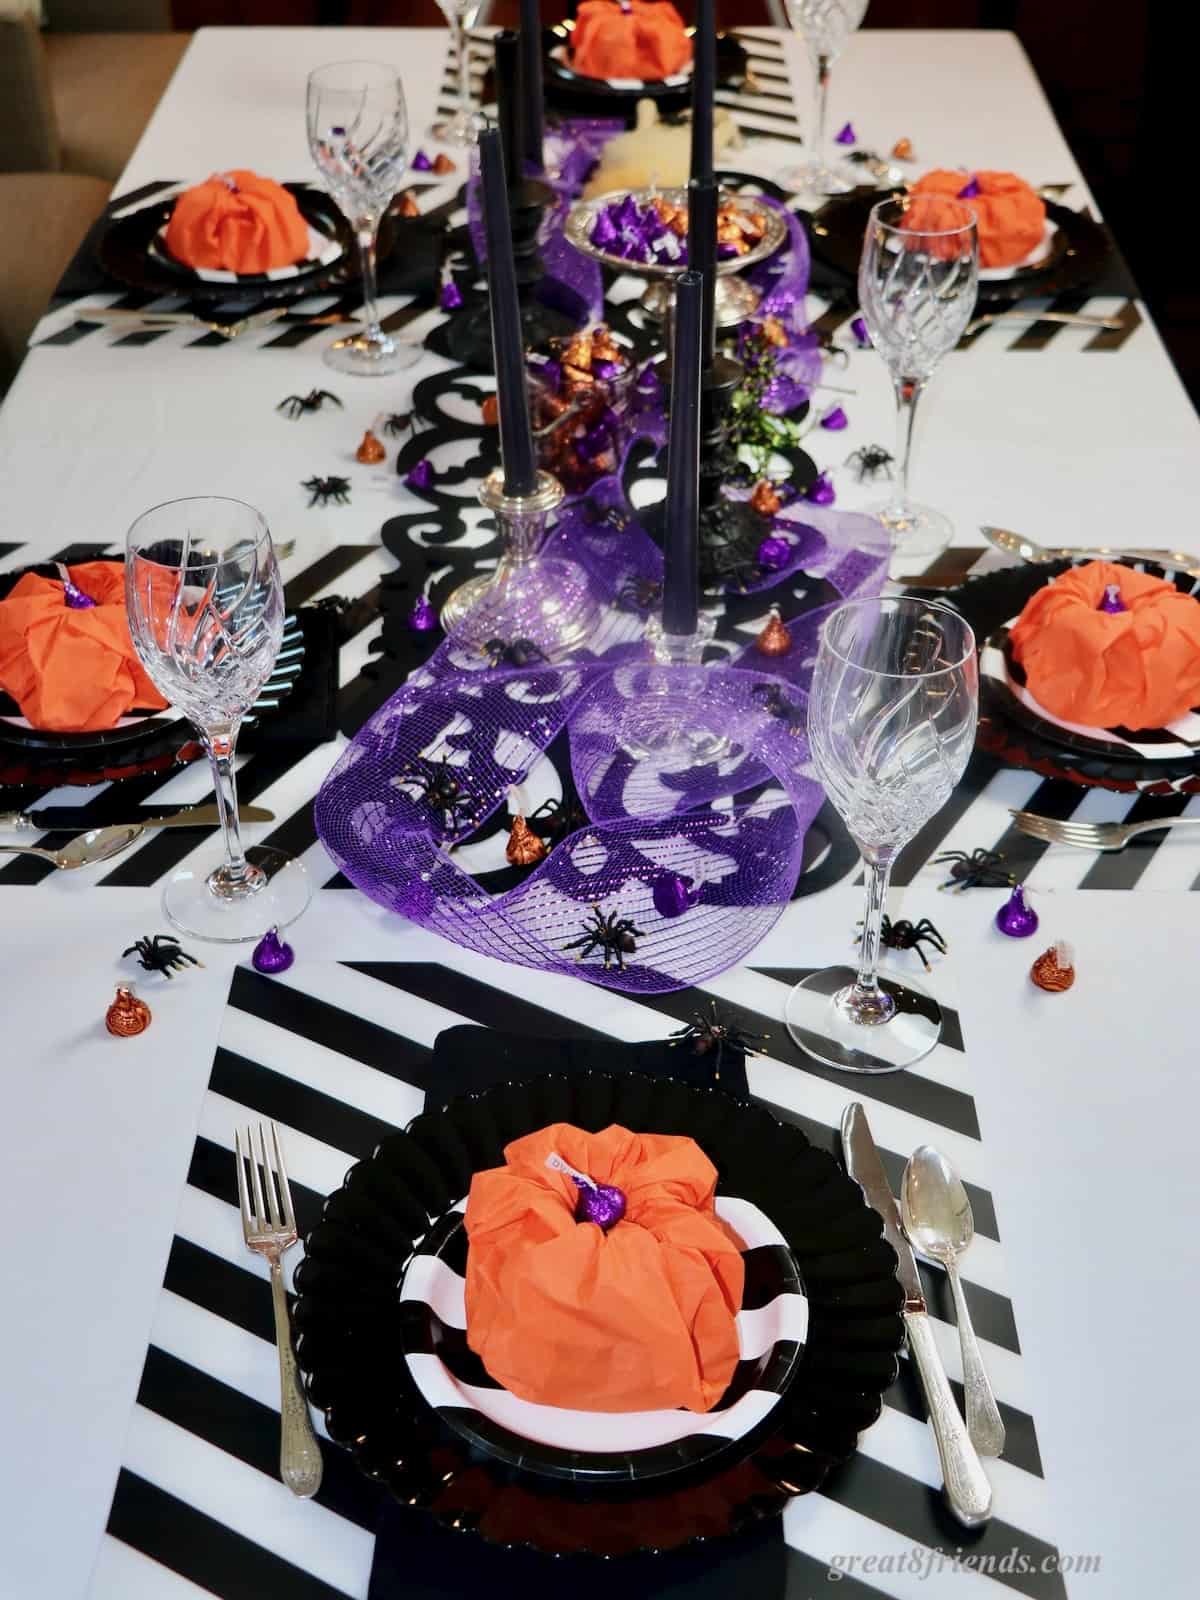
I found these cute black and white striped plastic placemats at IKEA... guess how much... $1.00 each!!! Now that's a bargain! I put those babies right in my cart!
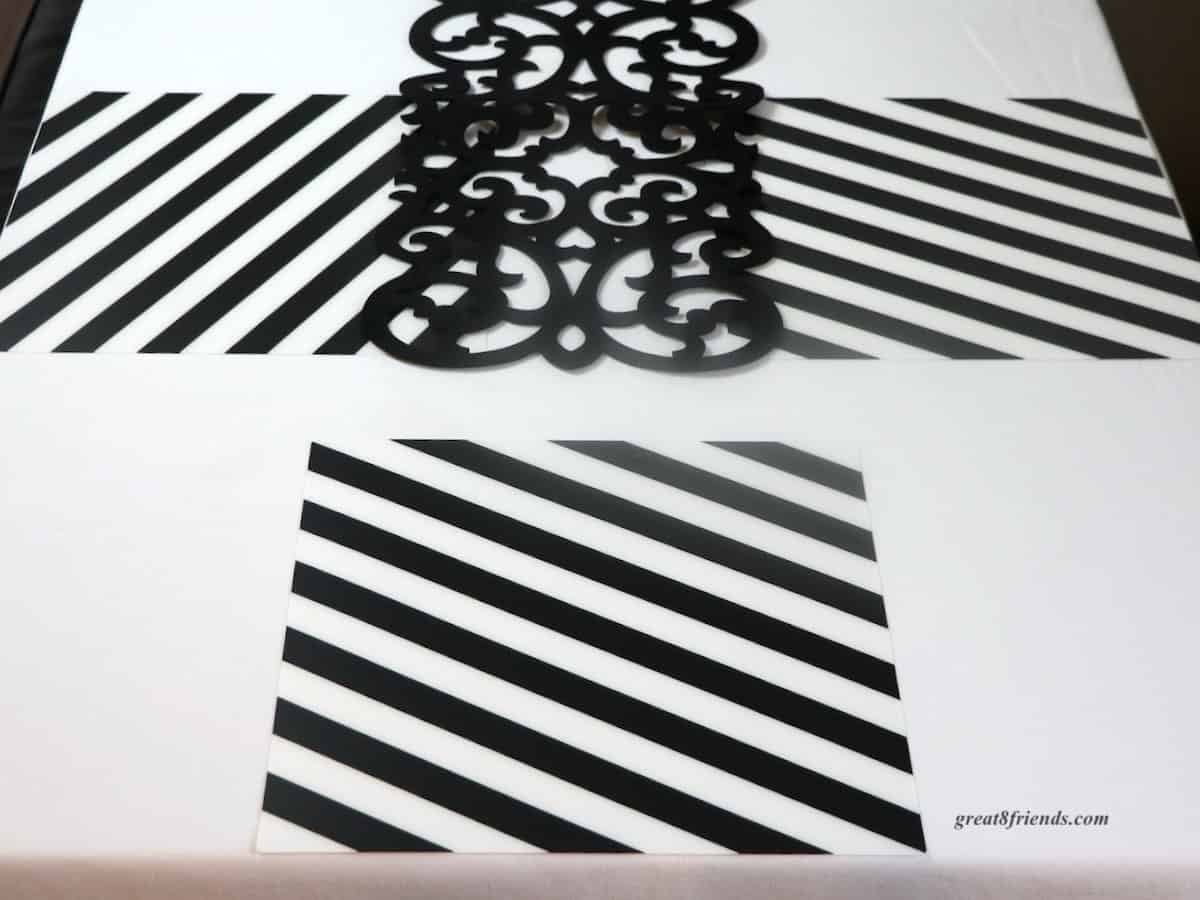
(And these could also be used at a summer barbecue, imagine a table with these mats and a bevy of sunflowers in the centerpiece🌼!)
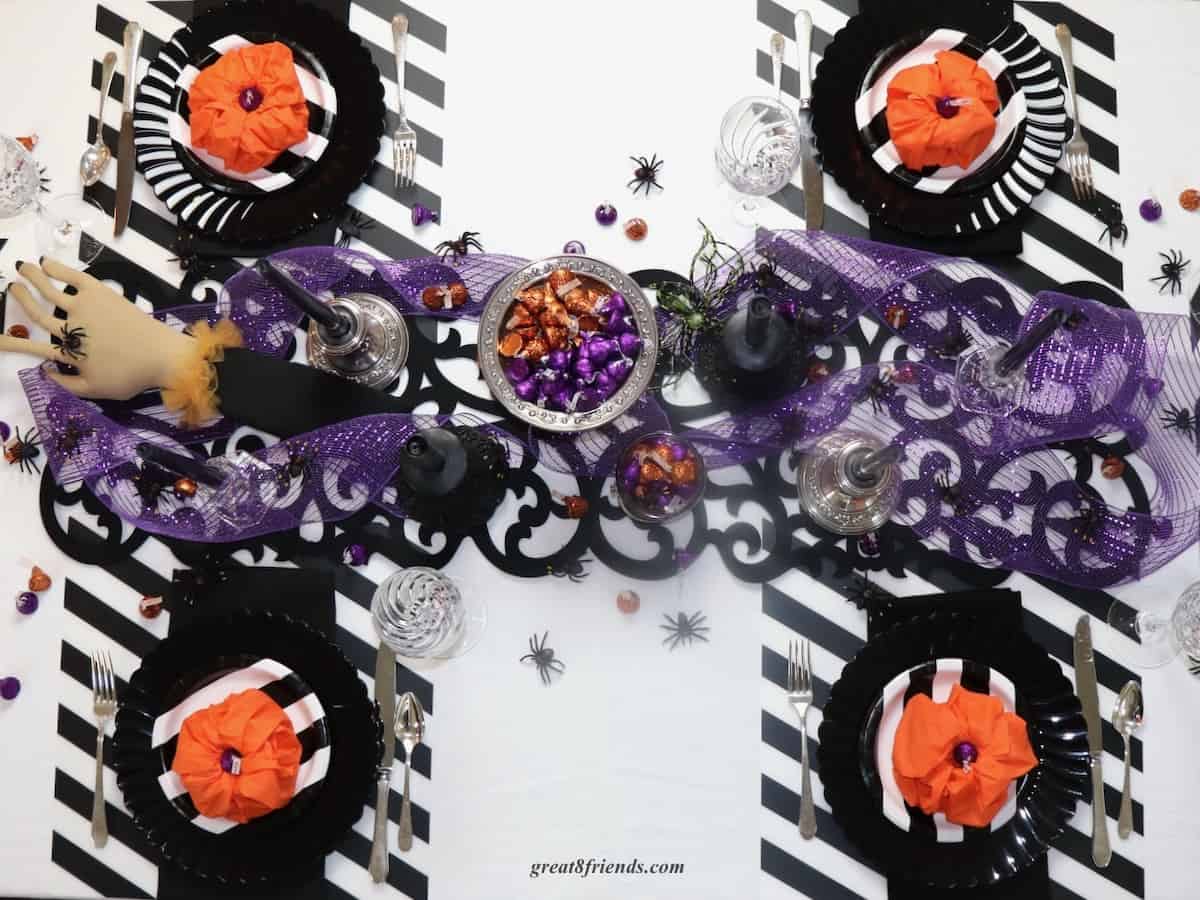
On top of the placemat we'll add the napkin, folded in thirds and hanging over the edge of the table.
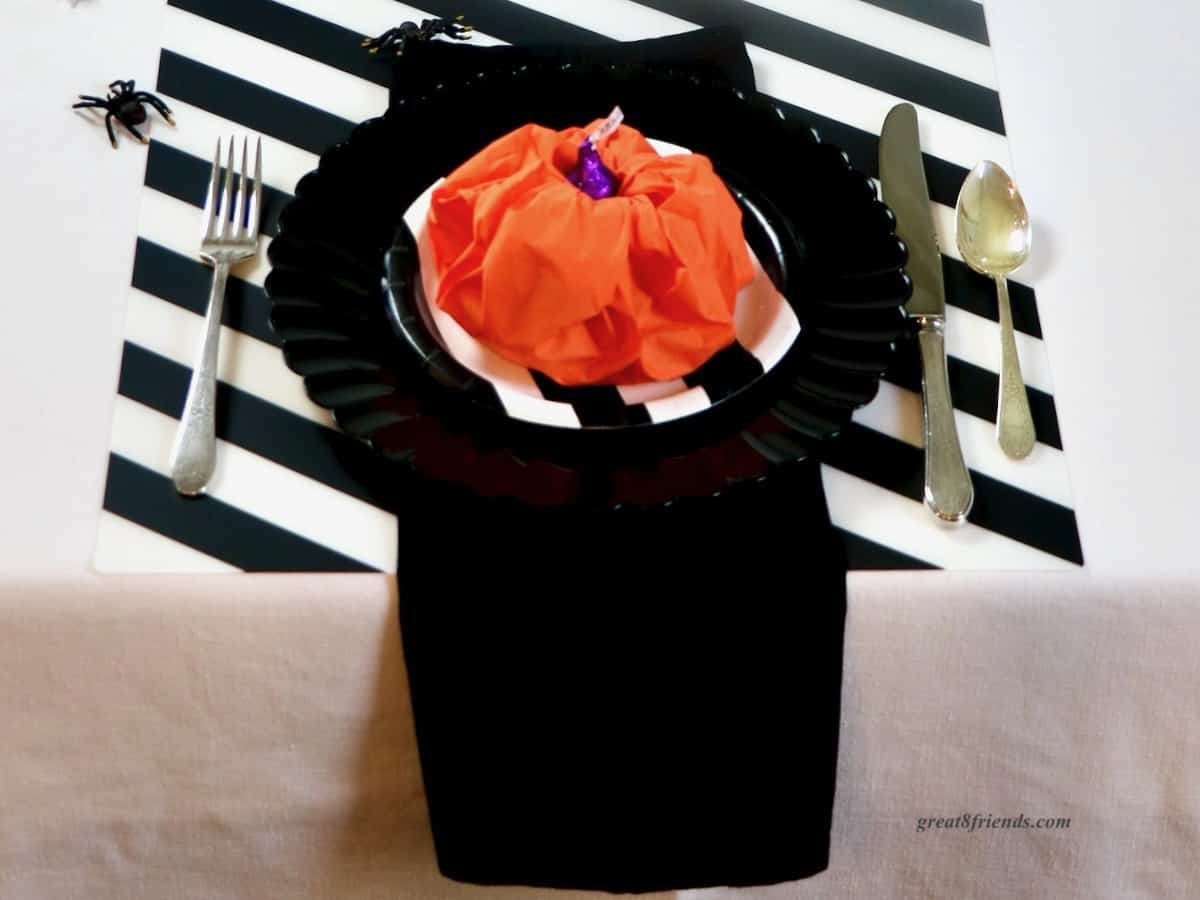
I already own black cloth napkins. Believe it or not, these get more use than you'd think. They've been on the table for our Las Vegas Gr8 Dinner, our Halloween Haunt, and Chinese New Year! I've also used them when we've done a formal-ish New Year's Eve dinner.
So now we need to build out the place setting... I don't own black plates or orange or purple plates, and white seems too boring.
On to the party store! I chose disposable black plastic dinner sized plates and a smaller striped dessert/salad plate to layer on top. (It's casual!)
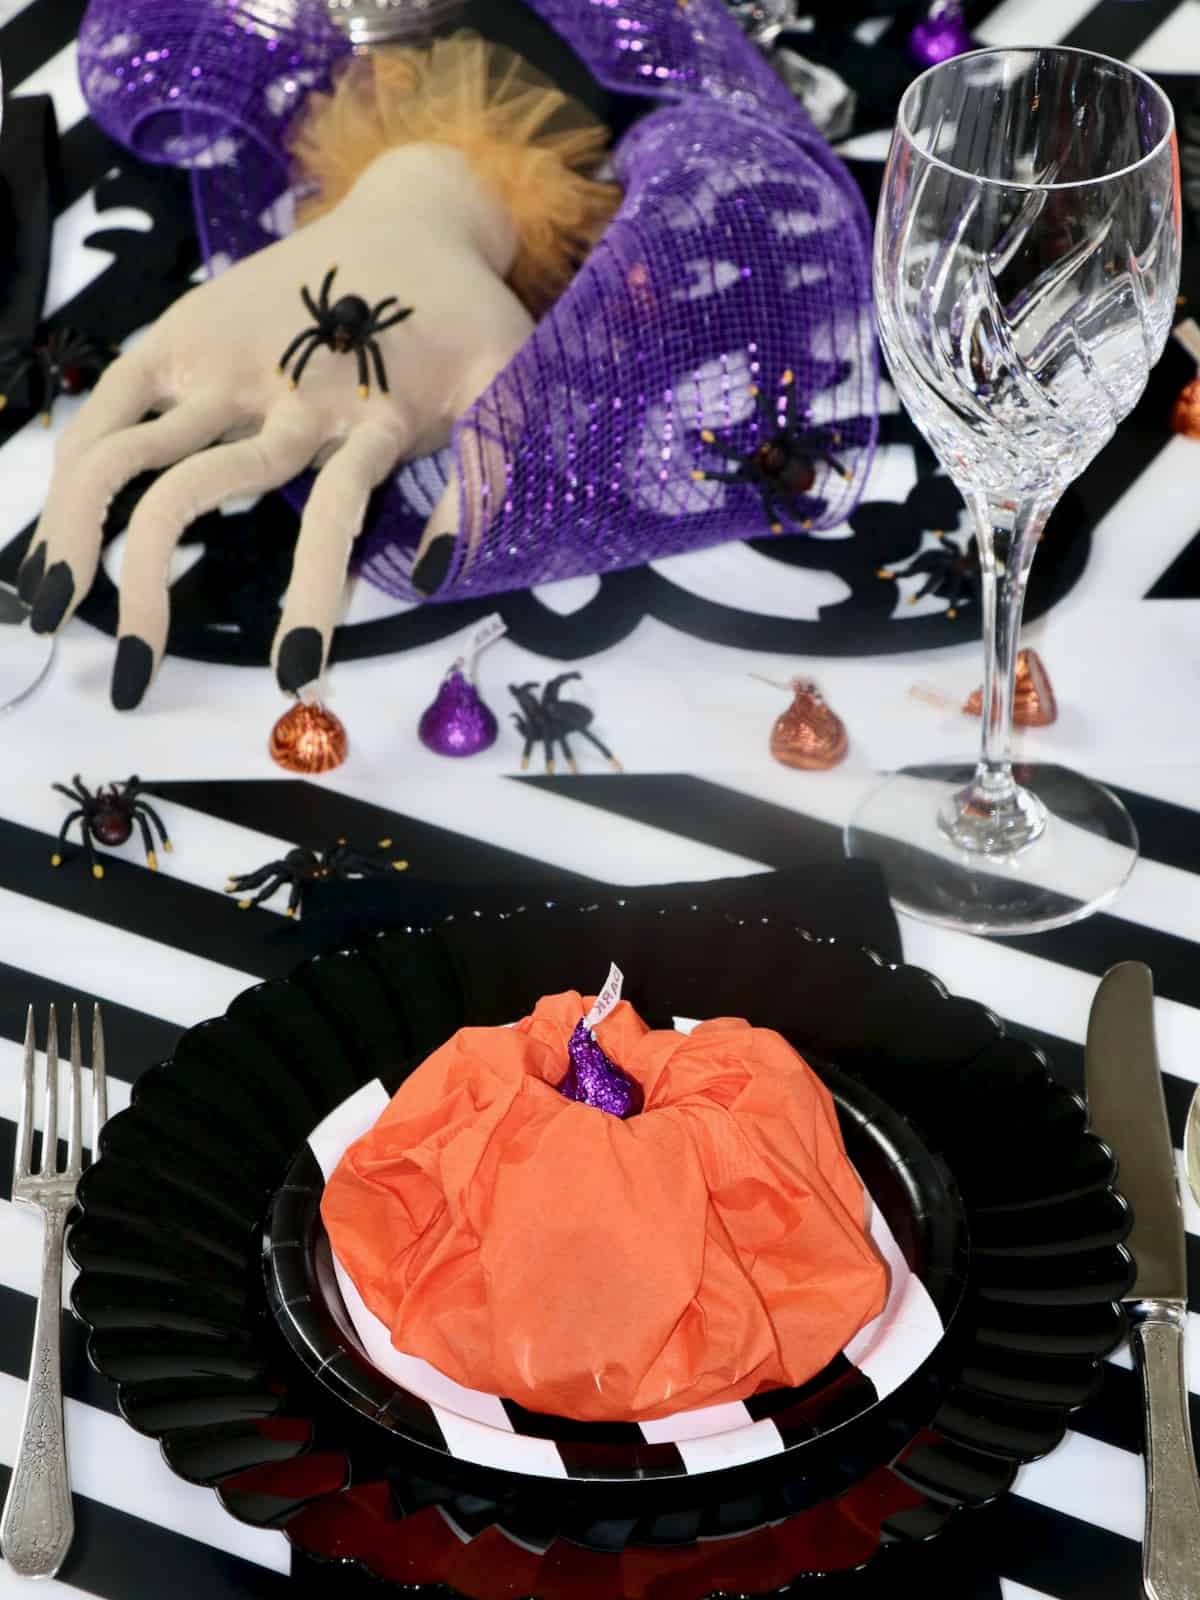
To finish off the setting with some cuteness I made orange paper napkin pumpkins filled with candy corn and topped with a purple Hershey's kiss (dark chocolate) for the stem to add in some of our other accent color.
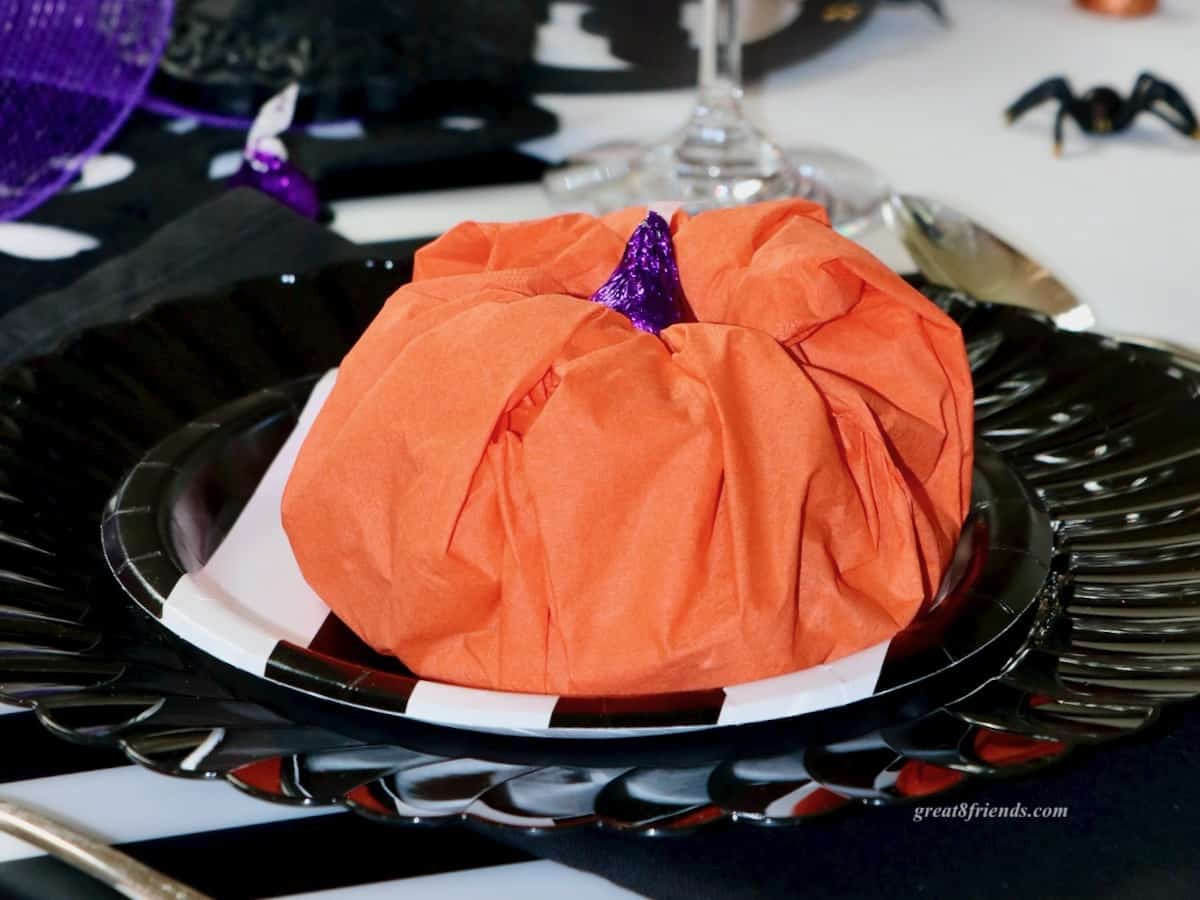
See directions below to make the pumpkins.
My grandma's silverplate and my wedding crystal glasses that are reminiscent of spider legs completed the place setting.
The Centerpiece
I LOVE LOVE LOVE fresh flowers on the table when entertaining. I just think it adds a special something. But we're talking about Halloween AND doing this on a budget.
You could certainly use fresh flowers... or maybe spooky dead flowers, but I don't have a garden to choose flowers from and I'm thinking of the $$$. If you want to use flowers, definitely incorporate them!
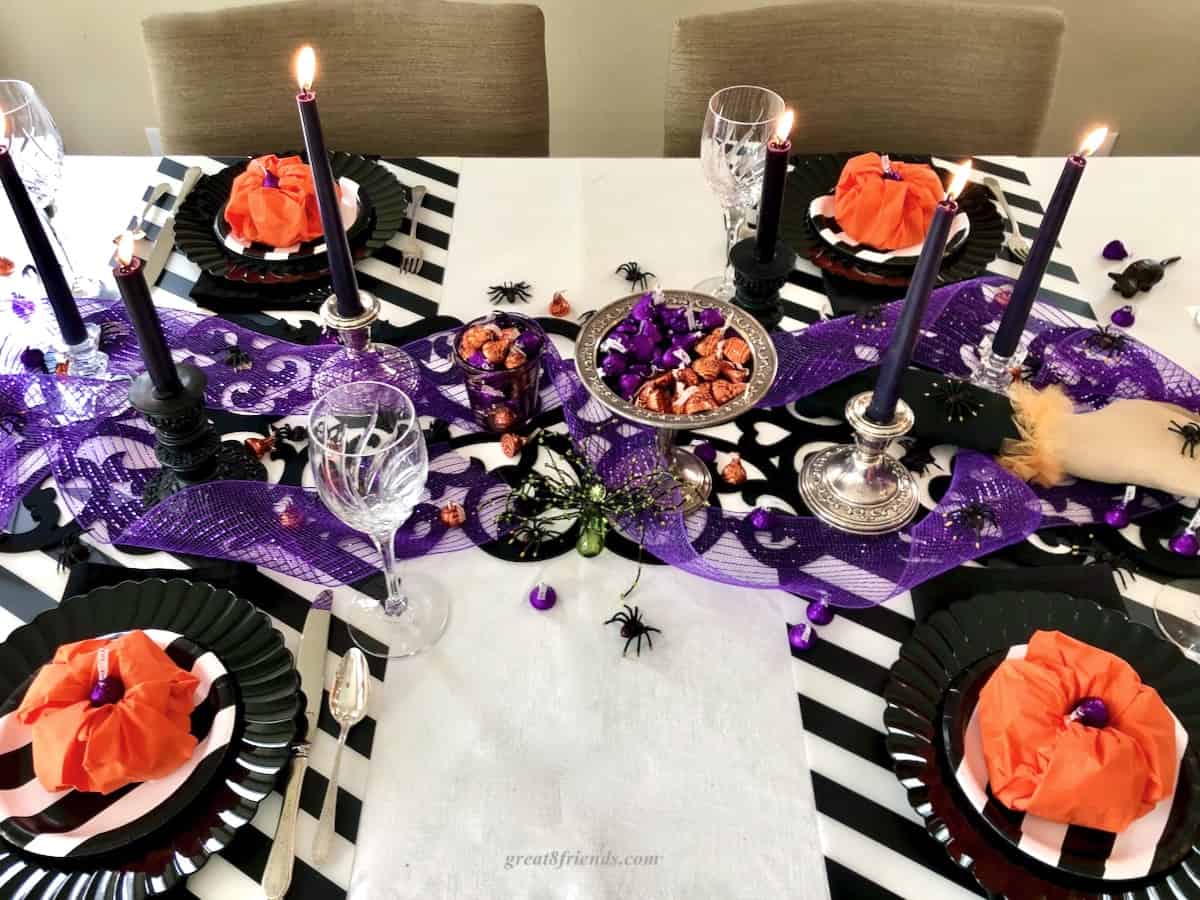
Candles also add an enchanting ambiance to a table. And with some more browsing online of the stores in my area I found these amazing black candles.
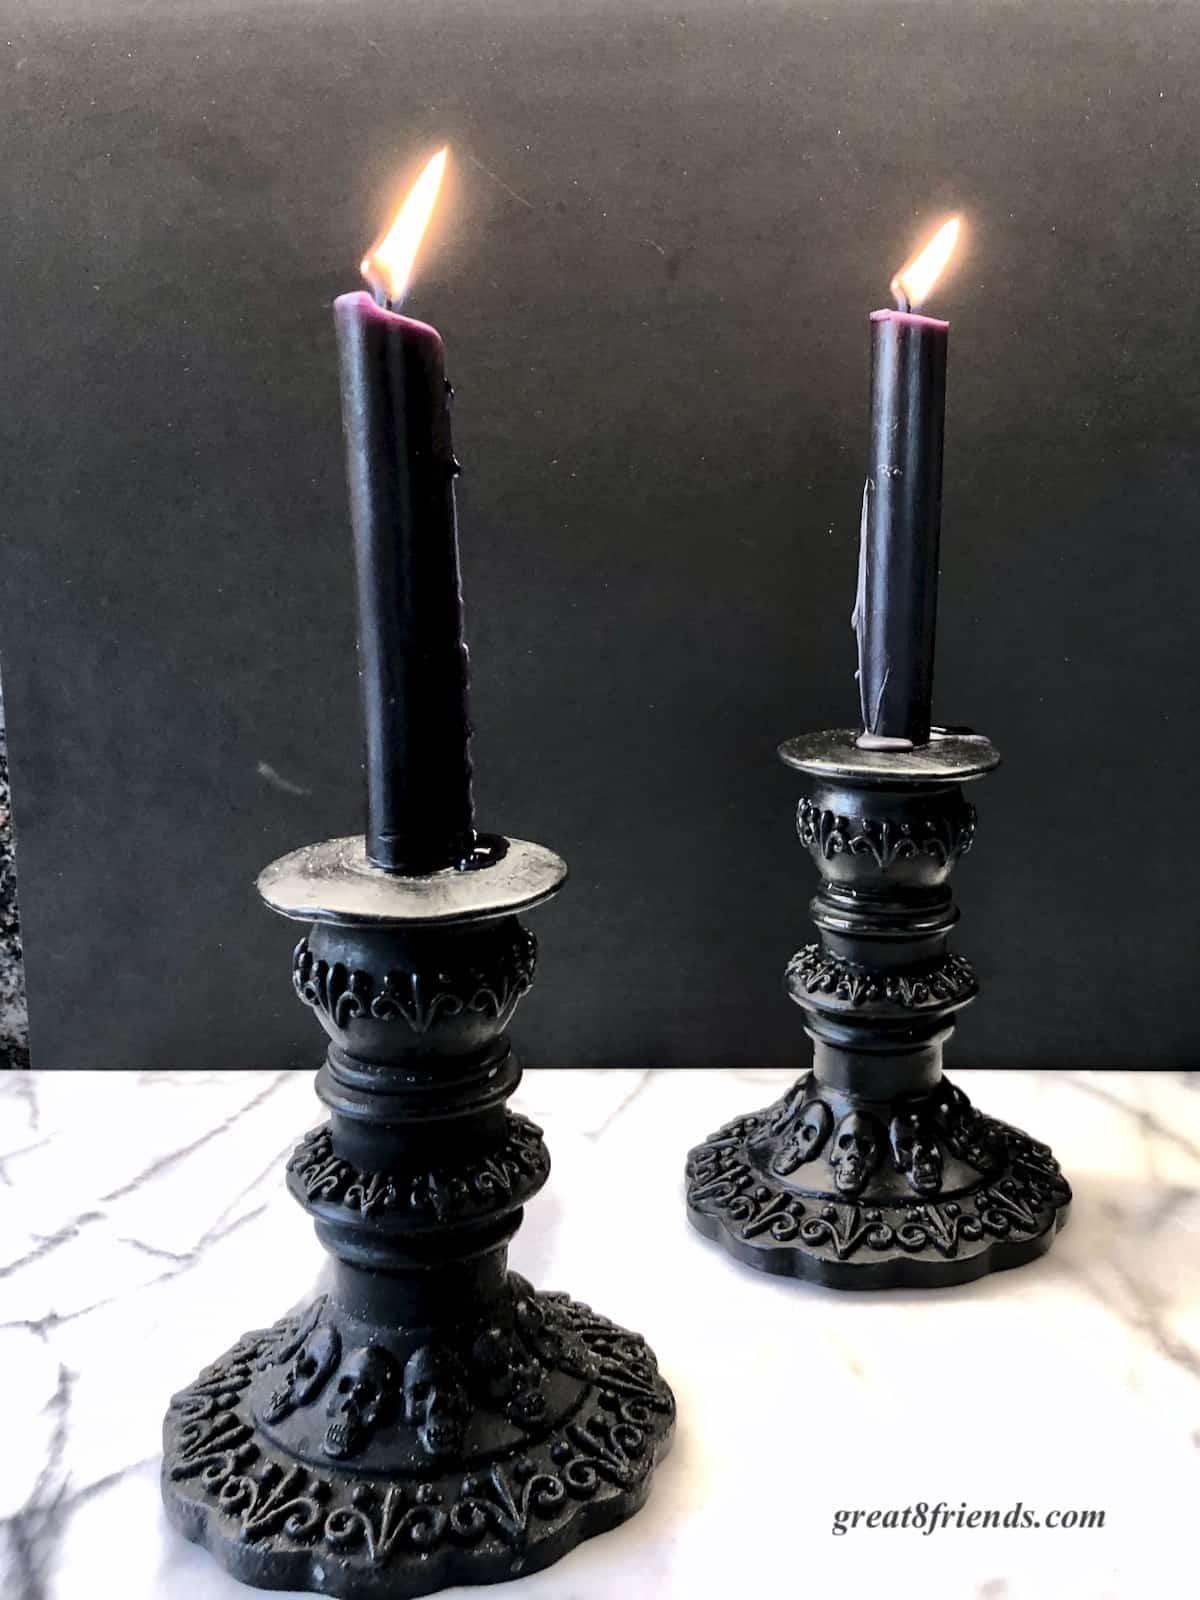
The whole thing is wax, from the candle right down to the base. And they were on half price sale from Crate and Barrel!
You may not find these exact candles, but there are lots of other choices. To fill out the center of the table I added 4 more black candles from Michael's in some of my own candleholders.
After arranging the candles I wound some 5.5" wide mesh ribbon around and through the candles. Be careful to make sure the ribbon stays low and away from the flames!
The center of the table holds two candy dishes one low and one high with purple and orange Hershey's kisses. Use whatever candy you love and whatever goes with your color scheme. We love chocolate here!
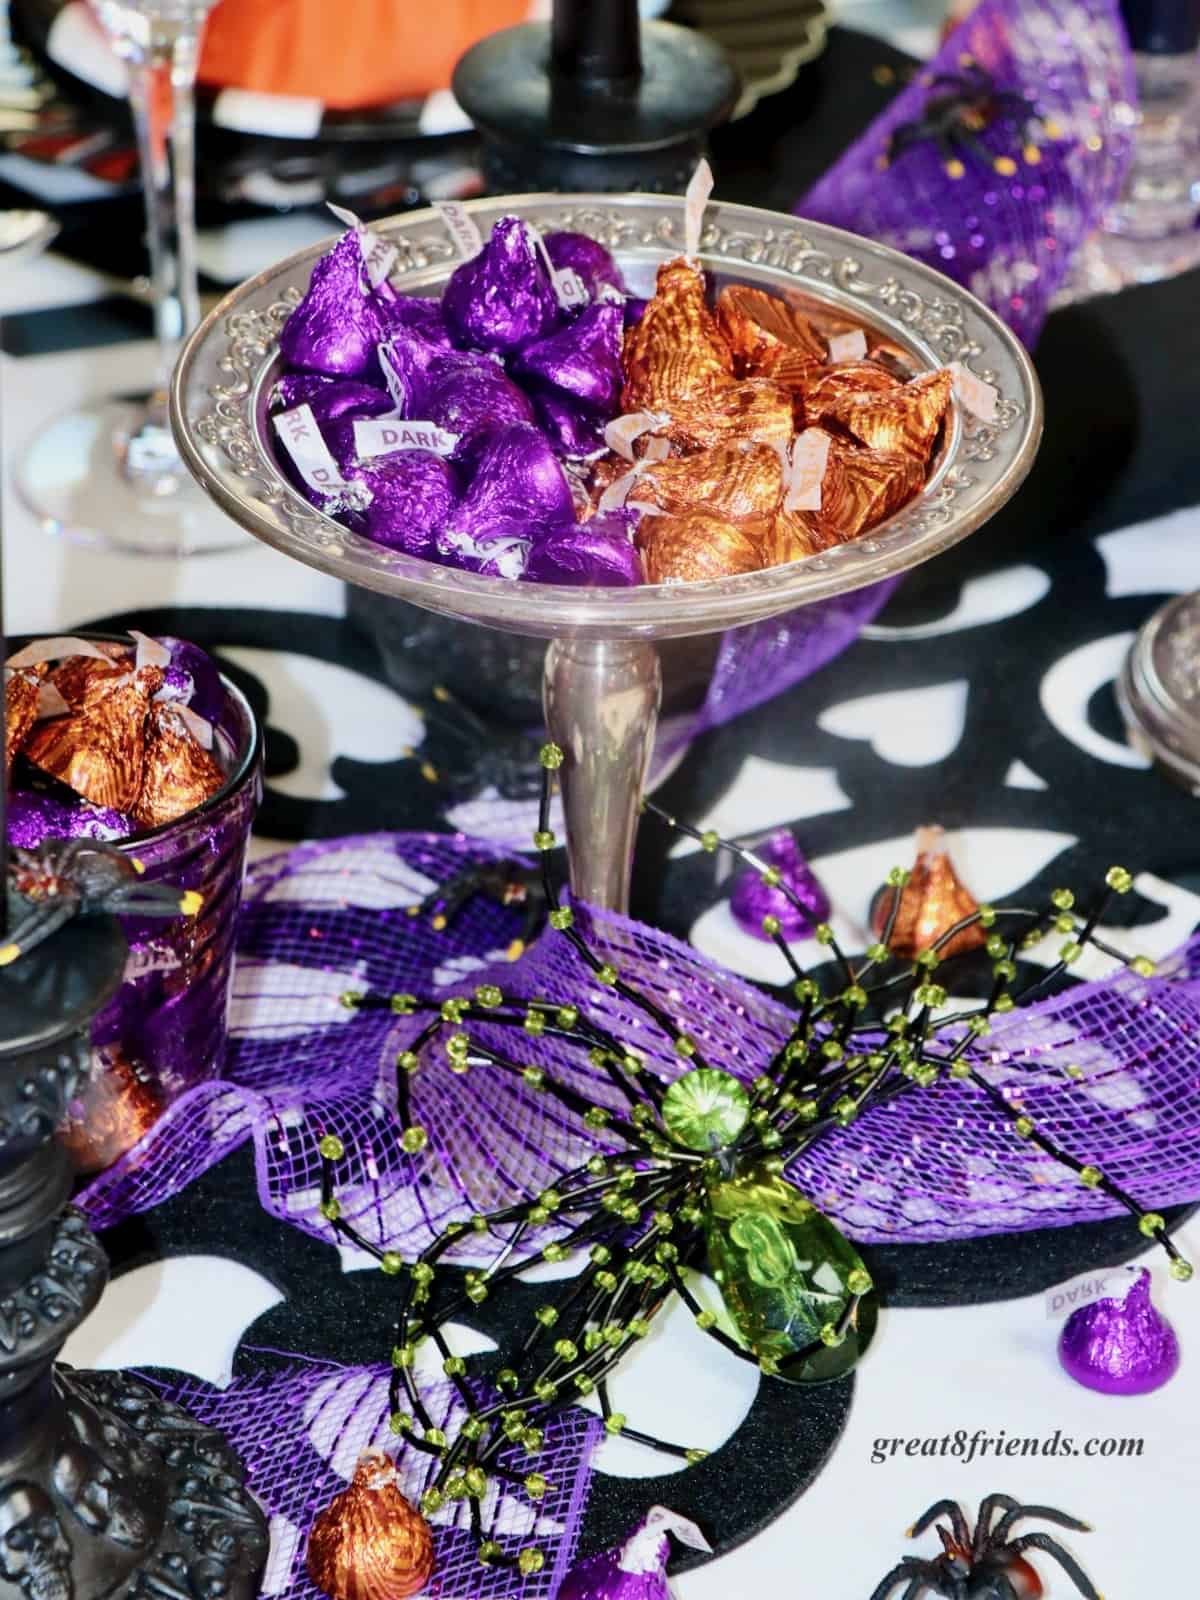
After putting some of the candy in the dishes, scatter some around, this is always fun for your guests! (And sometimes it's an extra appetizer! 😉
Itsy bitsy plastic spiders from the party store were placed crawling all over the ribbon and the candy and the rest of the table. I think 50 came in a pack so there were plenty to make it creepy!
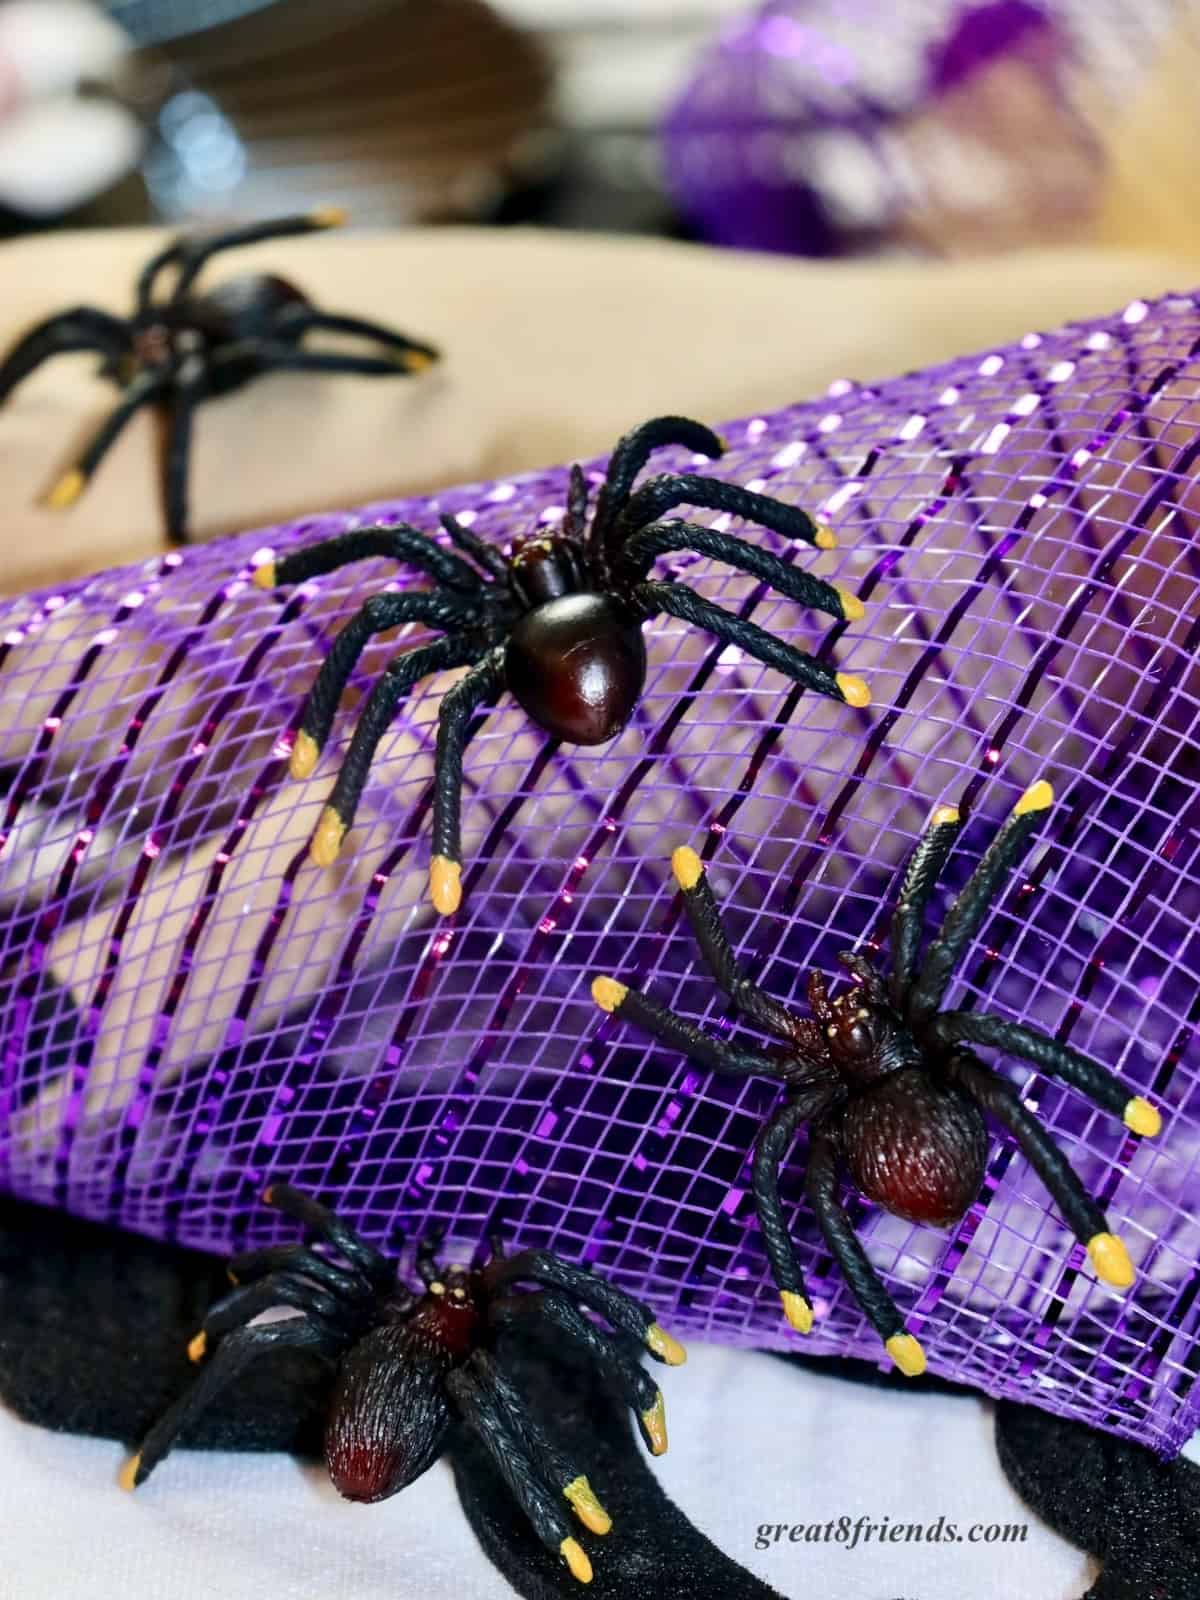
I had a witch's hand and a giant green and black spider in my stuff that I added to the centerpiece. Any creepy Halloween props that you already have can be included.
And there you have it! Table's done, now what are we going to eat?
Halloween Dinner Menu
Of course you could just order pizza, everyone will be happy! And the disposable plates are ready to go!
If you want to make your meal, here are some suggestions.
Appetizers
May we suggest...
For a hearty appetizer, Peppery Chicken Wings have the perfect amount of fire for a Halloween meal.
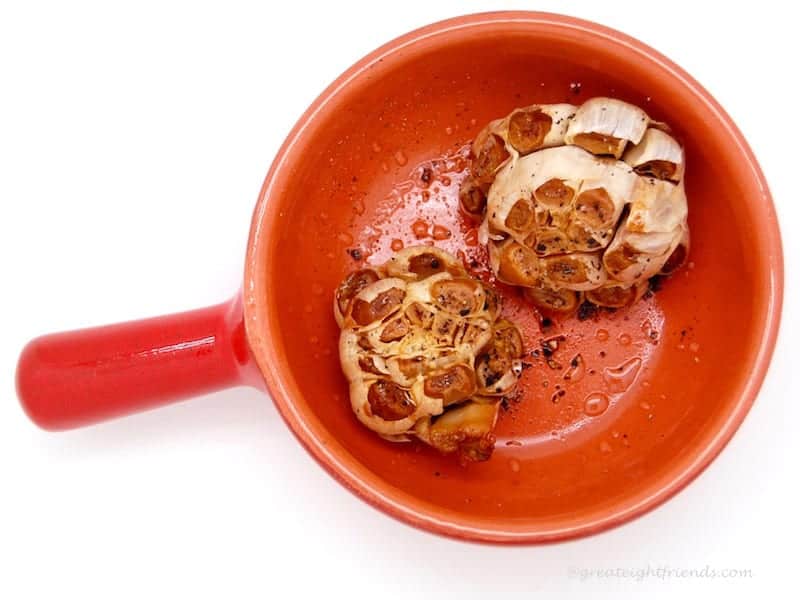
As a simpler suggestion, delicious Roasted Garlic spread on toasted baguette slices will keep the vampires away!
Main Course
And for the entrée, spicy Chili in the Instant Pot can be made early in the day or a couple days ahead of time so you can focus on getting ready for trick or treating.
Serve cornbread or rolls alongside to sop up the goodness!
...Or order that pizza and make it easy on yourself!
Dessert
It's Halloween so there will be a lot of sweets around, but a dessert is always nice to offer.
If you want to keep it simple, serve ice cream sprinkled with that candy corn you bought to fill the paper pumpkins.
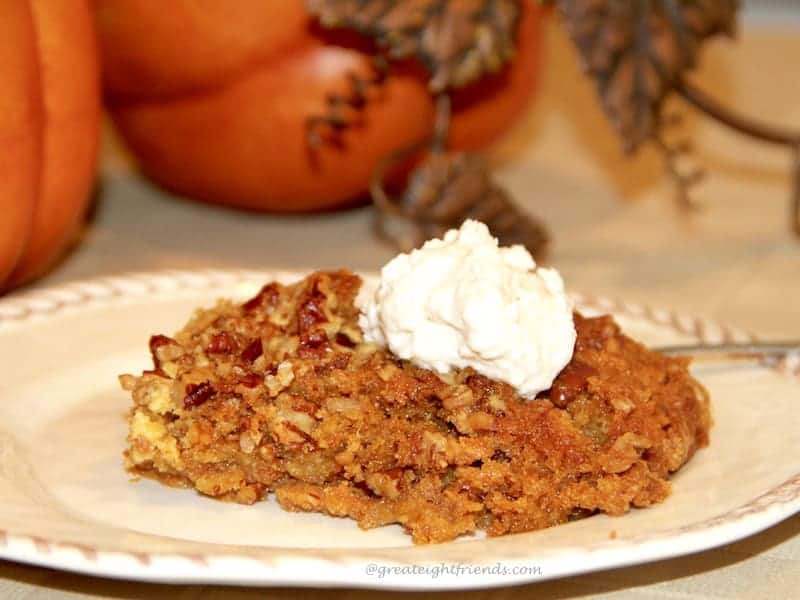
Here's a super simple Pumpkin Pie Crunch dessert that starts with a cake mix and literally takes 15 minutes to throw together. (Allow time for baking!) This is also Gr8 with vanilla ice cream.
The Budget
What I Used from My Cupboards
- Tablecloth
- Runner
- Utensils
- Glassware
- Candleholders
- Candy dishes
- Witch's hand
- Large Spider
What I Bought for the Table
- Plastic dinner plates $8.99
- Paper dessert/salad plates $2.00
- Place Mats $1.00/ea = $8.00
- Paper napkins for pumpkins $1.99
- Candy $8.00
- Candles $23.00 (the tapers + the formed ones from Crate and Barrel)
- Spiders $2.00
- Purple mesh ribbon $6.00
Total spent on the table setting = $60.00. Plus remember, I still have tapers left over and plates and napkins and ribbon (Mardi Gras, anyone?) and can re-use the place mats.
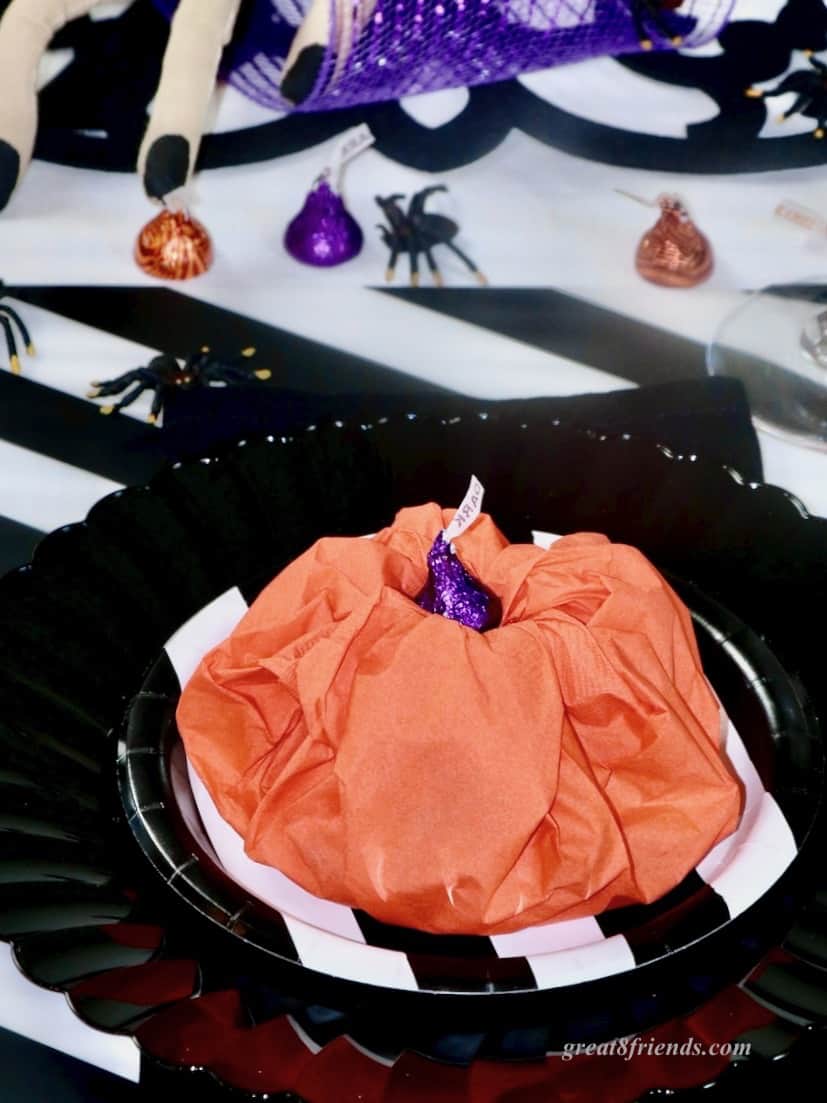
Candy Filled Paper Napkin Pumpkin
Here are the instructions to make these cute party favors!
Candy Filled Paper Napkin Pumpkin
Ingredients
- 8 dinner sized paper napkins, about 8"x 8"
- 4 empty cardboard toilet paper rolls, or empty paper towel rolls
- 1 20-ounce bag candy corn, or other small candy of your choice
- 8 Hershey's Kisses or Rolo pieces, for the stems
Instructions
- Use a scissor to cut the cardboard tubes into eight 2-inch pieces. You can always make more!
- Open up the paper napkin to full size.
- Then grab the napkin in the center and gently gather it so the center is at a point.
- Slide one of the 2" pieces of cardboard tube on to the point of the napkin so it is inside the tube but not sticking out the other end.
- Then holding the tube and the part of the napkin that's in the center, splay out the sides of the napkin and set it on a tabletop. The tube should be in the center with some of the napkin inside and the four corners of the napkin should be spread out around it.
- Place some candy corn around the outside of the tube on top of the napkin. Don't make this more than 2 layers high. And make sure it only reaches out about 1 ½" from the cardboard.
- Then, starting with one of the straight edges of the napkin, life it up and tuck it into the top of the tube. Then life up the opposite edge of the napkin and tuck it into the tube.
- Lift the third straight edge up and carefully tuck it into the tube. Then lift up one of the corners, puff it out with your fingers a bit and tuck the corner in to the tube. Proceed with with other corner.
- Now do the fourth straight edge and the last two corners.
- Fiddle with the napkin to fill it out then top it with the candy kiss for the stem!


Be a Gr8 Friend and tell us what you think!