Free up your oven this holiday season by using your gas grill to cook your turkey. That's right, you can grill your whole turkey and keep the mess out of your kitchen!
Turkey on the GRILL?!?!? Yes, it is a Gr8 way to roast your turkey.
Your oven space is free for other dishes and you don't get the mess in your oven that roasting a big bird often causes.
When we were first married our home was a small condo with one small oven and we were having our family over for Thanksgiving dinner... 20 people, one oven, what to do?
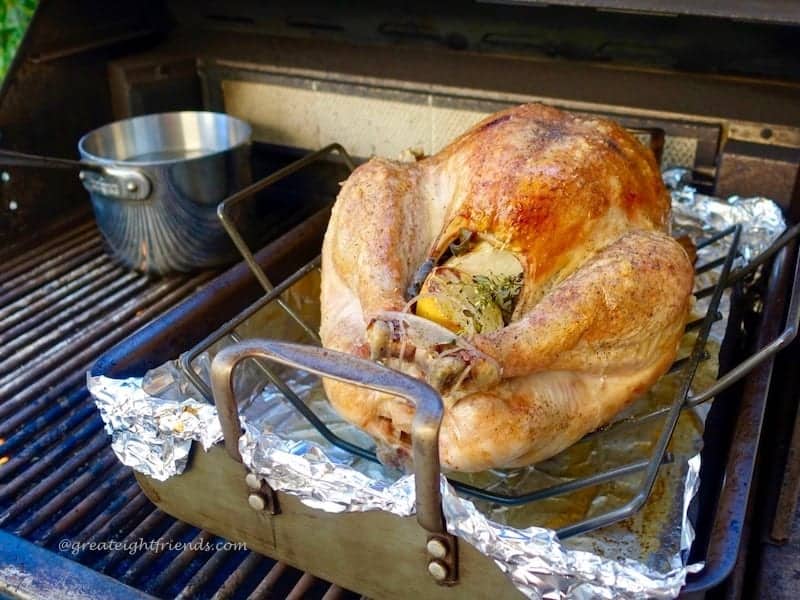
My friend, Terri, told me that she had heard of people cooking turkeys in their gas grills, so of course, this seemed to be the perfect solution!
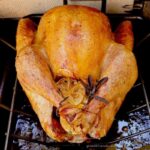
We have done our turkeys on the grill ever since. They are always juicy, flavorful, and beautifully browned; and they seem to cook a little faster than in the oven.
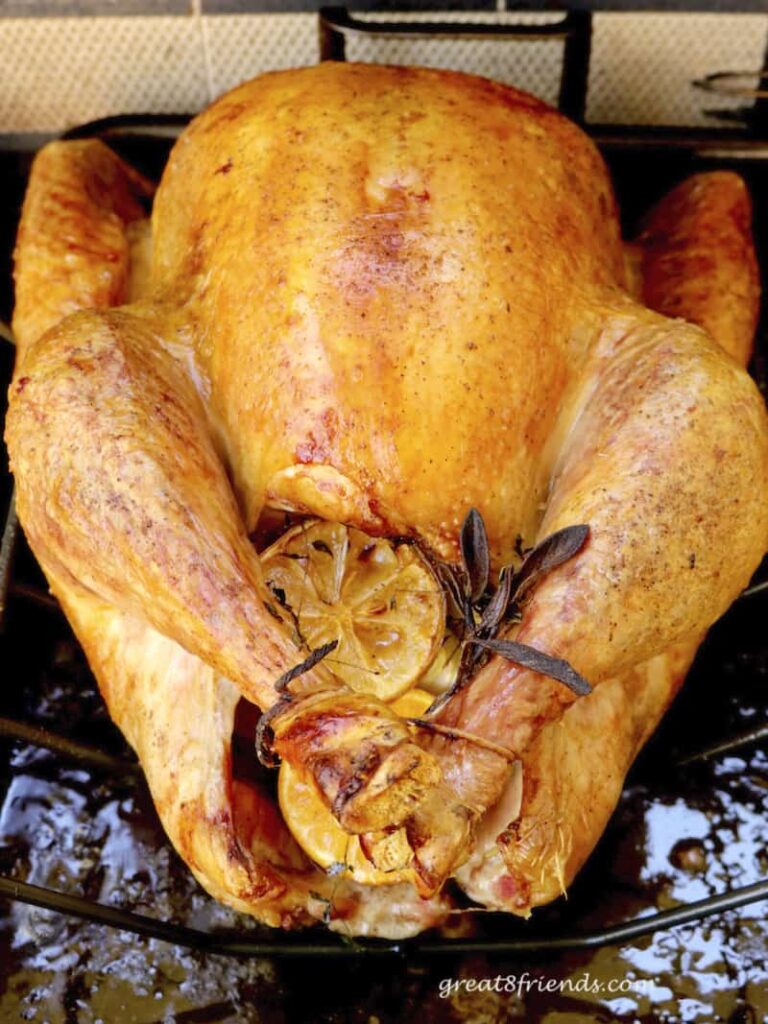
Prepare Your Turkey
Put the turkey on a sturdy rack in a roasting pan and cut off any excess fat. Then salt and pepper the inside of the breast cavity and stuff it with the herbs and citrus.
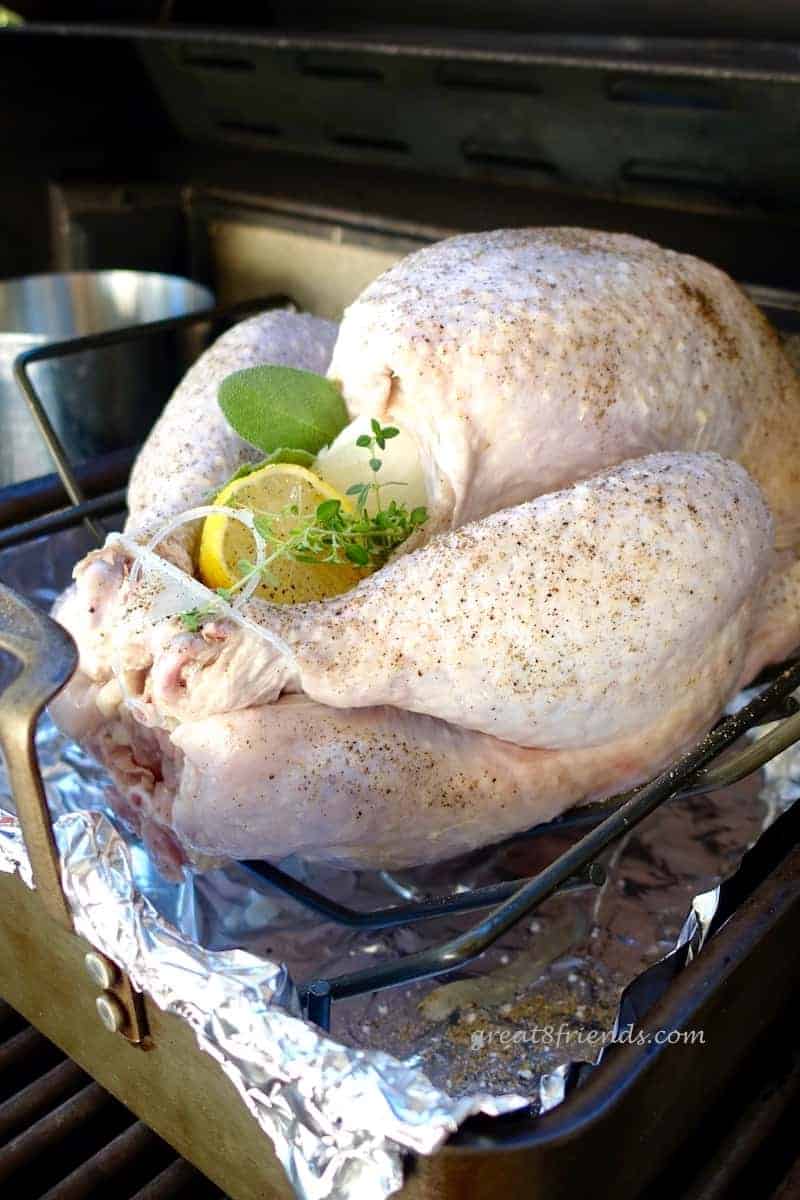
Tie the legs then pat the outside of the turkey dry with paper towels. (Discard the towels immediately.) Rub the outside of the bird liberally with olive oil then salt and pepper.
(Remember to wash your hands well after handling the raw turkey.)
Prepare the Grill
The turkey cooks in the grill using a convection like method. This works best if your gas grill has 2 or more burners.
Heat all burners on the grill on high. Once the grill is heated, turn off one of the burners. Place a small pan filled with water over the burner or burners that are still on.
Cook the Bird
Then put the turkey in the roasting pan on the grate over the burner that is off. Close the lid of grill.
Rotate the pan every 30 minutes or so to ensure even cooking. Also, make sure that you keep the pan with water filled.
I recommend refilling the pan with hot water instead of cold. This will keep you from losing too much heat. If you have a tea kettle, just heat the water in that then pour it into the pan.
If the drippings on the bottom of the pan become dry, add a small amount of water. You don't want them to burn because they will make some yummy gravy!
A few notes about this method:
- I have always used a gas grill with a lid and at least 2 burners.
- The cooking time will vary depending on the weather. Because a gas grill lacks insulation, the outside temperature will affect the inside temperature and hence, the cooking time.
- The cooking time will also depend on your grill. Our Weber grill does a better job cooking the bird than our old, less expensive grill. This is because the cast iron base of the Weber holds the heat much better.
- The pan of water creates a convection like environment to cook the turkey.
- You will have to monitor the turkey and the grill temperature. I had to turn my burner down so the turkey didn't cook too quickly. If it is cold outside, you may need the grill full blast.
- Be sure to take the internal temperature in the meaty part of the thigh. It should be 165°F. Here is the USDA's Minimum Internal Temperature guidelines.
To Serve the Turkey
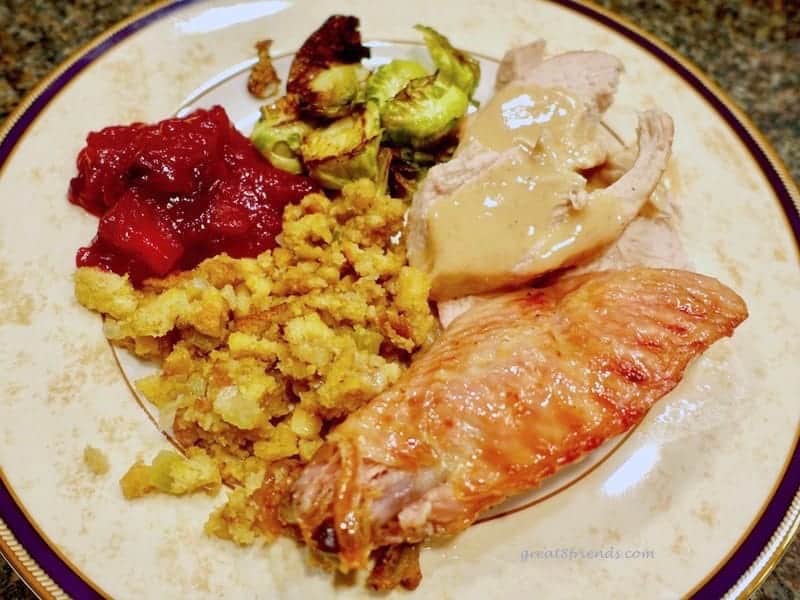
The best investment I ever made was an electric knife for carving my holiday roasts and turkeys.
A friend of mine let me in on this secret about 10 years ago and I am so glad he did! This appliance makes the carving much easier, quicker and neater!
Make a Thanksgiving Dinner!
- Pumpkin Martini
- Rosemary and Spice Nuts
- Spinach Balls
- Spicy Pumpkin Soup
- Homemade Challah Bread
- Sweet and Savory Cranberry Apple Sauce
- Squash Stuffed with Wild Rice
- Baked Yams
- Creamed Corn
- Green Beans with Bacon
- Apple Cranberry Pie
Our Favorite Meat Thermometer

Turkey on the Grill
Special Equipment
- Roasting Pan large enough to hold the turkey
- Rack for inside the roasting pan
- Meat Thermometer
Ingredients
- 1 fresh or thawed turkey
- 1 large onion, quartered
- 1 large lemon, cut in half
- 8 large fresh sage leaves
- 8 stems fresh thyme
- kosher or sea salt, to your taste
- freshly ground black pepper, to your taste
- 2-4 Tablespoons olive oil
Instructions
- Preheat your grill by turning all the burners on to high and closing the lid.
- Place the turkey on a rack in a roasting pan large enough to accommodate the bird.
- Remove any excess fat from the bird.
- Season the cavity with the sea salt and pepper.
- Stuff the cavity with the onion, lemon, sage and thyme leaves. This will make yummy drippings for the gravy! (My sister adds an orange, too.)
- Secure the drumsticks with skewers or kitchen twine.
- Pat the outside of the bird dry with paper towels and discard.
- Spread the olive oil liberally over the skin and season the outside of the turkey with salt and pepper.
Cooking the Turkey on the Grill
- Fill a saucepan ¾ full with water.
- Open the grill, turn one of the burners OFF.
- Place the pan of water over the burner that is still ON.
- Place the roasting pan with the turkey over the burner that is OFF and close the lid.
- Every 30 minutes, turn the roasting pan to ensure even cooking.
- Add a small amount of water to the bottom of the roasting pan as necessary to keep the drippings from burning. You want to make sure you get a delicious gravy!
- Replace the water in the saucepan as needed to keep the convection environment going.
- Use a grill thermometer and try to keep the grill at 350º - 375ºF. (I used my oven thermometer.)
- My turkey was 13 pounds and took 2 ½ hours to get to the required 165º internal temperature. Remember, we live in California and it was a warm day.
- Use an instant read thermometer to check the internal temperature of the turkey.
- When the turkey is done, let rest for 20 minutes before carving. You can move it to the cutting board and tent with foil. The fruit and herbs in the cavity can be removed before carving or can remain, your choice. But they should be discarded, do not serve.
- While the turkey is resting, make your gravy using the dripping in the pan.
- Happy Holidays!
Cooking the Turkey in the Oven
- Preheat oven to 425ºF. Make sure the rack is low enough that the turkey will fit without touching the top of the oven.
- Place the prepared turkey in the preheated oven and roast for 30 minutes. Then turn the heat down to 350ºF.
- Baste with the pan juices every 20 minutes or so. (Add a small amount of water to the bottom of the roasting pan as necessary to keep the drippings from burning. You want to make sure you get a delicious gravy!)
- Cook until a thermometer stuck into the thickest part of the thigh reaches 165ºF. See below for approximate cooking times.
- Remove from oven, transfer turkey to platter and tent with foil. Let rest in a warm area of the kitchen for at least 15 minutes.
- If any part of the turkey is getting too brown while cooking, protect those parts with pieces of foil.
- Use the drippings to make your gravy.
Notes
A few Gr8 Notes about this method:
- I have always used a gas grill with a lid and at least 2 burners.
- The cooking time will vary depending on the weather. Because a gas grill lacks insulation, the outside temperature will affect the inside temperature and hence, the cooking time.
- The pan of water creates a convection like environment to cook the bird.
- You will have to monitor the turkey and the grill temperature. I had to turn my burner down so the turkey didn't cook too quickly. If it is cold outside, you may need the grill full blast.
- Be sure to take the temperature of the turkey before removing the from the grill.
Approximate Turkey cooking times for the oven:
| Weight | Time |
| 6 to 8 pounds | 2 to 3 hours |
| 8 to 12 pounds | 2 ½ to 4 hours |
| 12 to 18 pounds | 3 ½ to 5 hours |
| 18 to 24 pounds | 4 ½ to 6 hours |


Anna
Hi Debra, it is a game changer! Please let us know if you try it!
Debra
What a great idea. With only one oven this would be a game changer for thanksgiving.
Anna
Please let us know how it turns out, Lon!
Claudia Kerns
I think I am going to give this a try. Makes sense and looks delicious!!
Anna
I think it is easier than the oven...and for some reason, juicier.
Brenda Perlin
This looks good enough to eat!!!! Yum. Can't wait.