These Homemade Marshmallows are so fun to make and delicious to eat that everyone should be doing it!
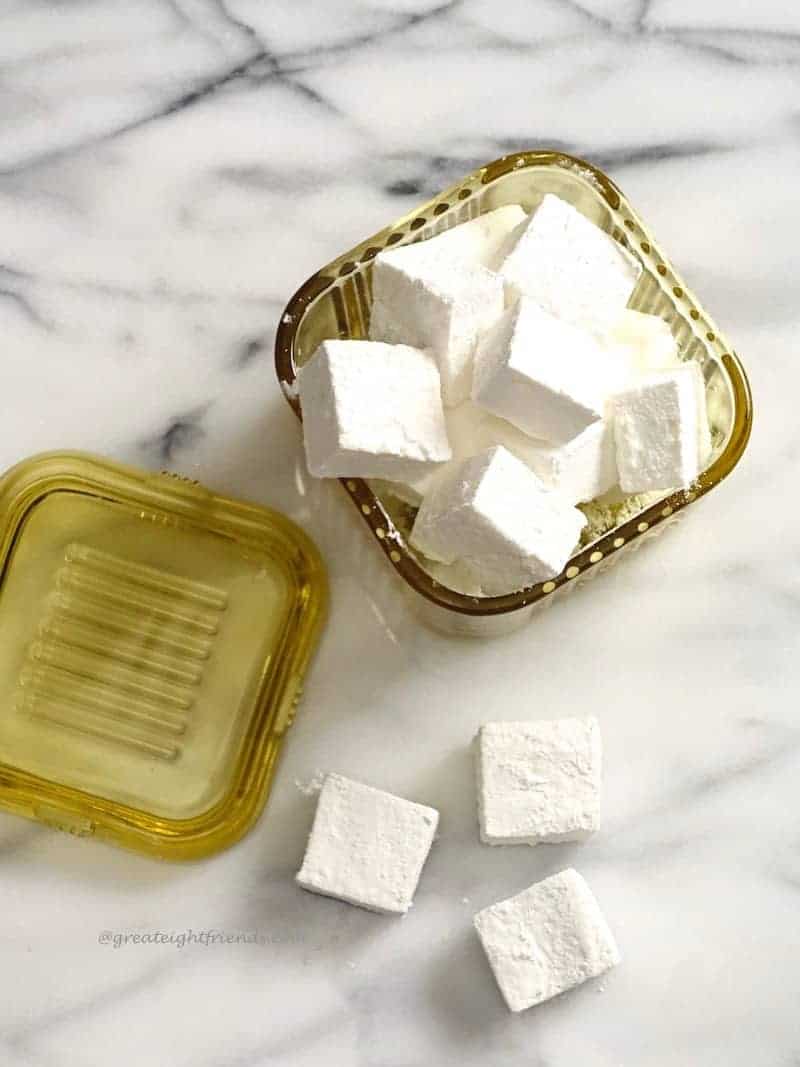
Marshmallows are a super easy and even, dare I say, fun to make? And everyone is surprised when you offer them homemade marshmallows. It's unexpected!
We are all used to either the store bought puffs that are mass produced or the boutique gourmet pillows of white that cost an arm and a leg.
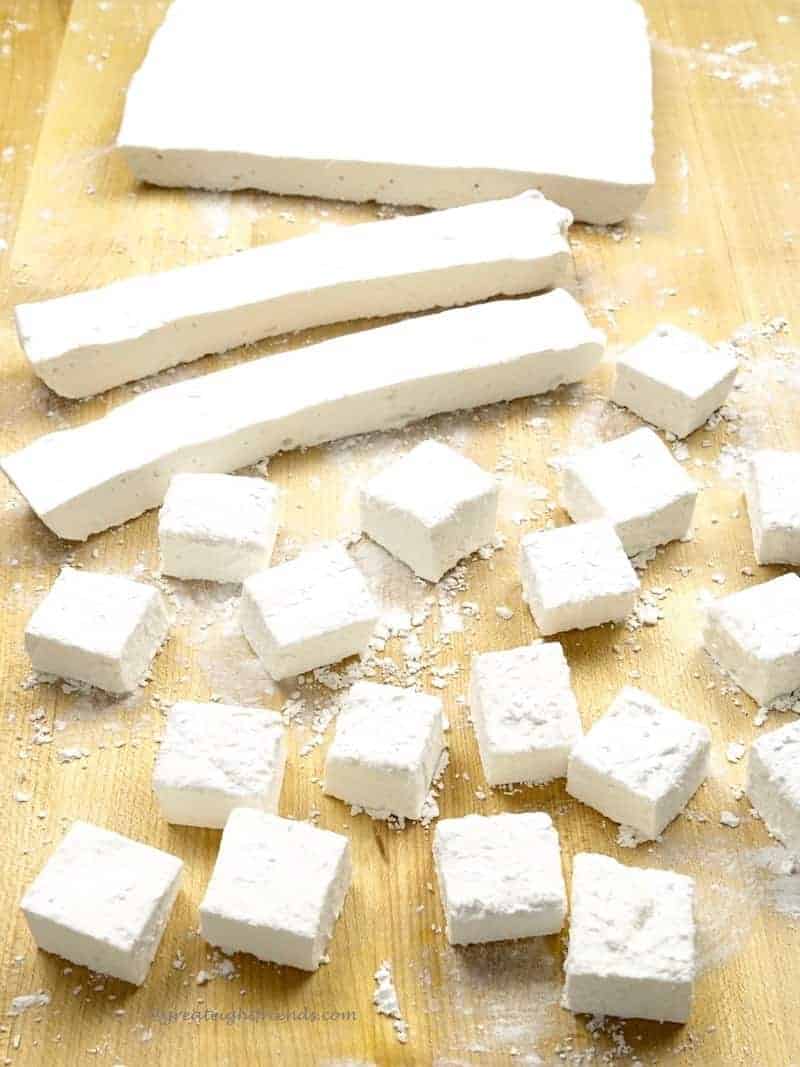
Well, my friends, make a batch of these for a couple dollars (or less) then indulge and enjoy!
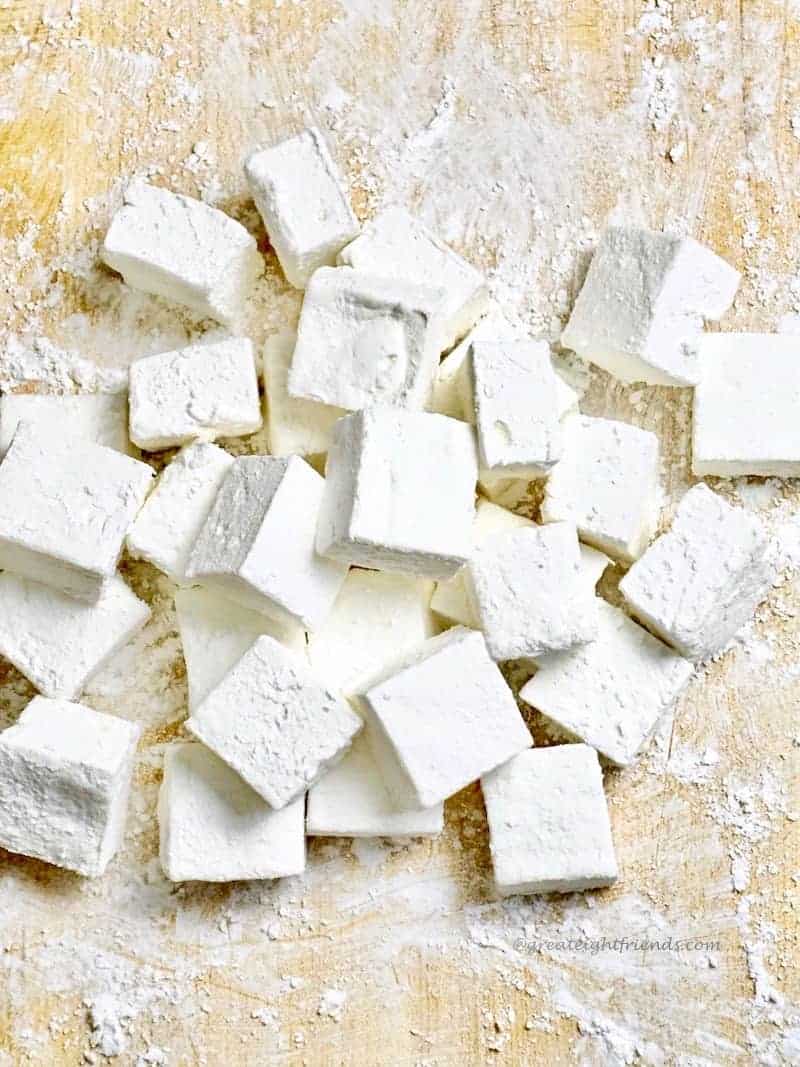
When to Use Homemade Marshmallows
The very first time I tried making these was a couple years ago when Kyle and Joel assigned me dessert for their "Camp Boomer" Gr8 Dinner...and you know how I love to make dessert.
I decided on Homemade S'Mores, and when I say homemade, I mean everything...from the graham crackers to the marshmallows. It was so fun and they were so easy that I have made these many times since.
And I LOVE these in Hot Chocolate! We have two choices:
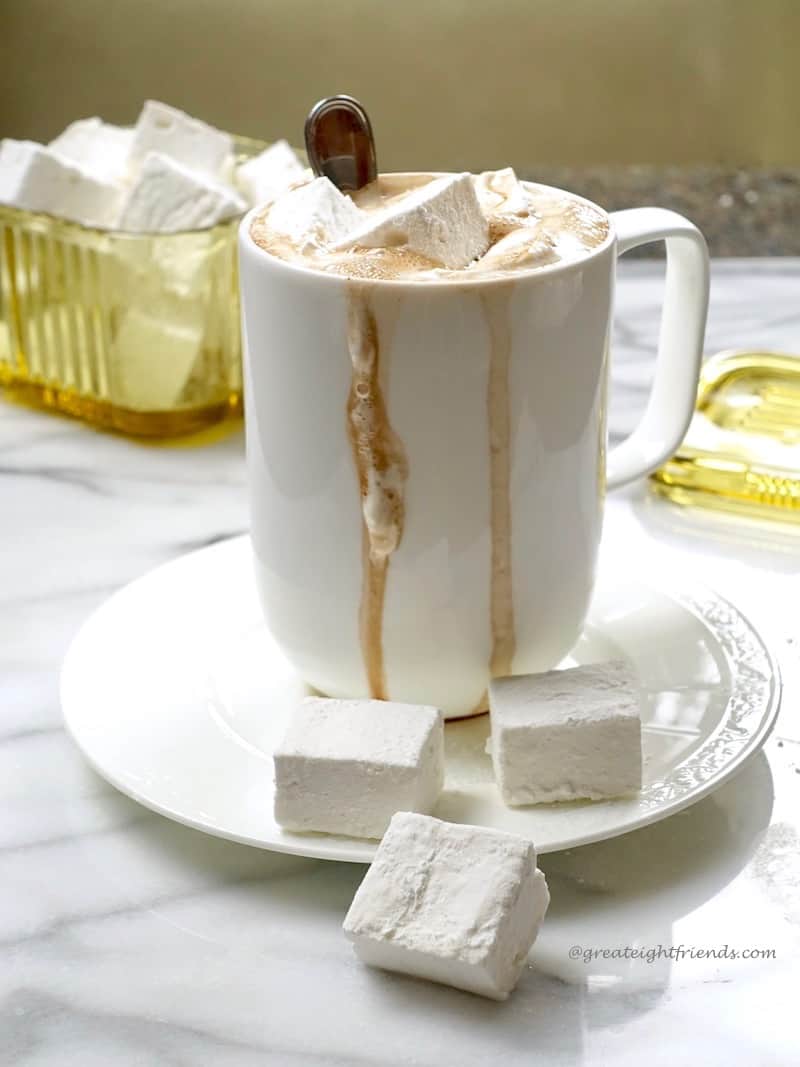
Also, I found out that my friend, Christine, often makes and ships marshmallows to her daughter who is gluten-free. It's the perfect gluten-free treat!
So whip up a batch of these, it makes a lot, depending on how you cut them. You will have plenty to treat your family and also enough to package up and gift to friends.
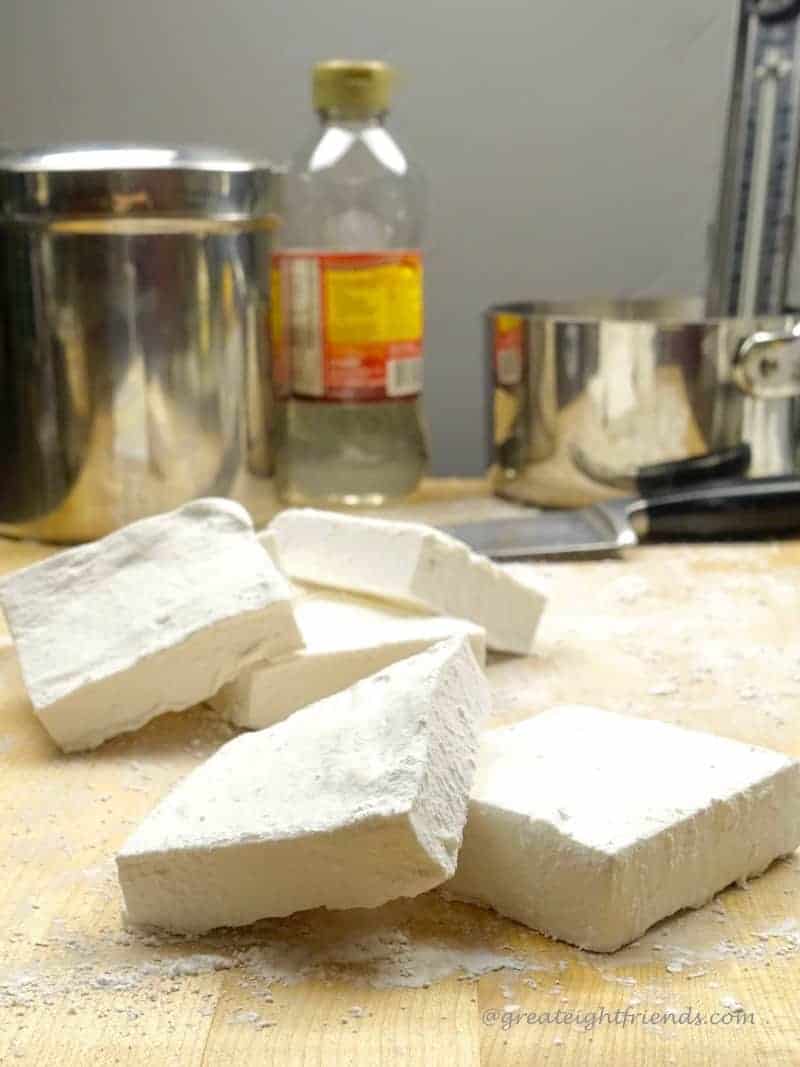
How to Make Your Own Marshmallows
Marshmallows are basically candy, so you have to start with a hot sugar mixture.
- Begin by making the sugar mixture on the stove. Cover it and let it cook for 4 minutes over medium-high heat.
- While that is cooking, you have to soften the gelatin. Simply put the gelatin into the bowl of your stand mixer with the water and let it sit for a bit while the sugar cooks.
- After 4 minutes of cooking, take the lid off the sugar mix and put a candy thermometer in. Cook until the candy reaches the softball stage, 240°F, about 5 to 7 minutes. Remember not to stir it, but DO watch it so the mixture doesn't boil over. Nothing worse than hot candy sugar all over the stove.
- When 240°F is reached, turn off the heat. Turn your mixer on the lowest speed. Slowly and carefully pour the hot sugar mix into the gelatin. Be very careful to not let the sugar mix hit the whisk or you will hot sugar all over your kitchen and maybe you. And it's SUPER HOT!
- Once all of the sugar mixture is incorporated into the gelatin, turn your mixer to the highest speed. Let it whip for 13 to 15 minutes. It's fun to watch the transformation!
- The bottom of the mixing bowl will go from very hot to lukewarm and the mixture with become fluffy and thick.
- During the last minute of mixing add the vanilla or any other flavors you are choosing to use.
- During the 15 minutes of mixing, you can prep the pan (a glass or ceramic pan will work best). Simply mix together some powdered sugar and cornstarch, spray your pan with cooking spray, then use the cornstarch/sugar mixture to liberally coat the pan. Set aside any remaining cornstarch/sugar mixture for later.
- Once the marshmallows are fully mixed and fluffy, pour into the pan.
- Then use an oiled spatula or oiled piece of plastic wrap to smooth the top.
- Once you get it as smooth as you can, liberally sprinkle more of the cornstarch/sugar mixture over the top, then set the remaining aside for later use.
- And this is where you leave them to rest. They just need to lounge on the counter, uncovered for at least 4 hours and up to 24 hours.
- To release these yummy pillows of puffiness, turn the pan upside down and they may fall out. If they willingly go, then lift them out with a large flat lifter or spatula. Don't worry, they're pretty resilient.
- The easiest way to cut the marshmallows is by using a very sharp knife that has been run under very hot water. You will need to run it under hot water often during the cutting process.
- Once all the marshmallows are cut to your desired size, roll them about in the remaining cornstarch/sugar mixture to completely coat them. And there you have your marshmallows!
Homemade Marshmallows
Special Equipment
- Stand Mixer with whisk attachment
- 9"x13" pan
Ingredients
- 3 packs unflavored gelatin, or 7 ½ teaspoons
- 1 cup cold water, divided use
- 1 ½ cups granulated sugar
- 1 cup light corn syrup
- ¼ teaspoon salt
- 1 teaspoon vanilla
- Cooking spray, for pan preparation
- ⅓ cup powdered sugar
- ⅓ cup corn starch
Instructions
- Combine ½ cup of the water, sugar, corn syrup, and salt, in a small saucepan.
- Cover the saucepan and cook over medium-high heat for 4 minutes.
- While the sugar is heating up, empty the envelopes of gelatin into the bottom of your stand mixer bowl and pour in the remaining ½ cup of cold water. This step is to soften the gelatin so it reacts with the hot ingredients.
- Then attach the whisk attachment to the mixer. Let this stand while you finish cooking the sugar.
- Remove the lid from the sugar mixture and, using a candy thermometer, cook the mixture until it reaches 240º F, the soft ball stage. This should take about 5 to 7 minutes. Leave the sugar mixture alone, don’t stir it.
- Once the liquefied sugar is up to temperature, turn the mixer to low speed and slowly pour the sugar mixture down the side of the bowl into the gelatin. Be careful not to pour this over the whisk while it is running or you may get splattered with hot sugar!
- When all the sugar is combined with the gelatin, turn the mixer to high speed and whip for 13 to 15 minutes. The bottom of the bowl will go from hot to lukewarm and the mixture will be very thick.
- During the last minute of whipping, add the vanilla.
Prepare the pan while the marshmallows are whipping:
- In a small bowl whisk together the powdered sugar and cornstarch.
- Spray a 13x9-inch pan with cooking spray (glass or ceramic works best), then liberally coat the bottom and sides of the pan with the cornstarch and sugar mixture. Any excess mix can be returned to the bowl.
- Cover the cornstarch/sugar mixture and set it aside as it will be used later, after the marshmallows are cut.
- Once the marshmallow mixture is fully whipped, pour into the prepared pan.
- Using an oiled spatula smooth out the top. If you'd like an even smoother surface, spread cooking oil on a sheet of plastic wrap and press the oiled side onto the marshmallows.
- Dust the top with some of the remaining cornstarch/sugar mixture. Set the remaining mixture aside again to use later.
- Let the marshmallows rest, uncovered on a baking rack, for at least 4 hours and up to 24 hours.
- Turn the pan upside down onto a cutting board to release the marshmallows. Or lift them out with a spatula.
- Run a sharp knife under very hot water and cut the marshmallows into whatever sized squares you desire. You may have to re-rinse the knife every couple of cuts.
- Then roll the squares in the remaining cornstarch/sugar combination. This will coat the entire marshmallow to prevent them from sticking together.


Be a Gr8 Friend and tell us what you think!