A Beach Barbecue is such a fun way to host a dinner party; from playing games on the beach to chatting around the fire under the stars at the end. This guide has a suggested menu, lists of what you need, and Gr8 tips to be successful!
We used to call ourselves a "gourmet" group. But as time passed, we realized we are really a "dinner" group.
We have dinner parties with all different themes and sometimes the food is fancy and fabulous, and sometimes the food is down home and delicious!
For Vince's and my most recent Gr8 Dinner, scheduled for the hot summer month of July, we decided on a Beach Barbecue theme.
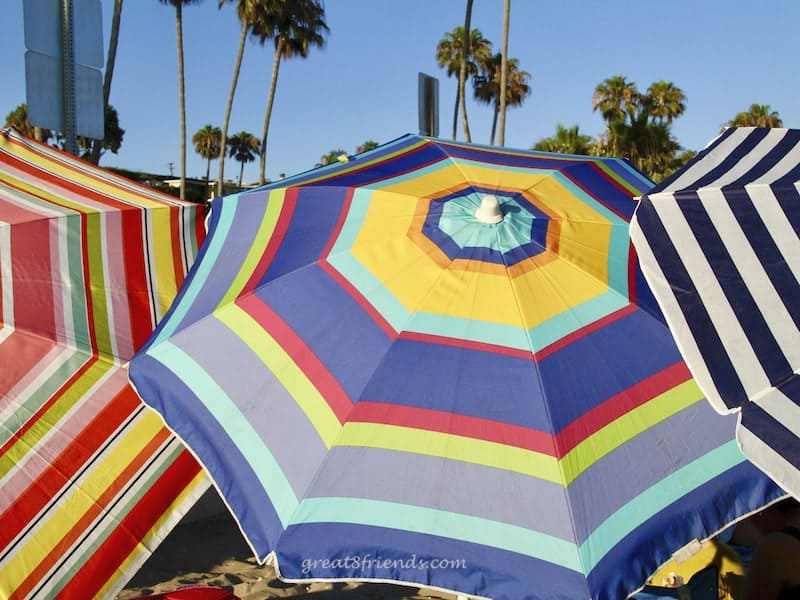
And it wasn't just the theme, we actually had the dinner party at the beach! And that, my Gr8 Friends, takes a LOT of planning. Mostly because you have to schlepp EVERYTHING.
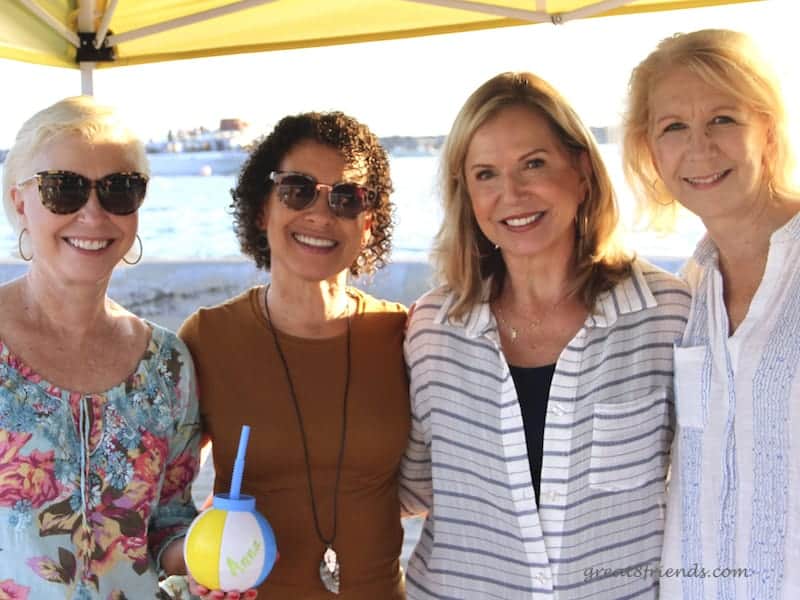
But it is SO MUCH FUN! This post will tell you what we did for invitations, our simple menu, and exactly what to pack and how to pack it for maximum accessibility.
The Invitations
We took the easy way out with the invitations this time. Meaning, the bulk of it was bought.
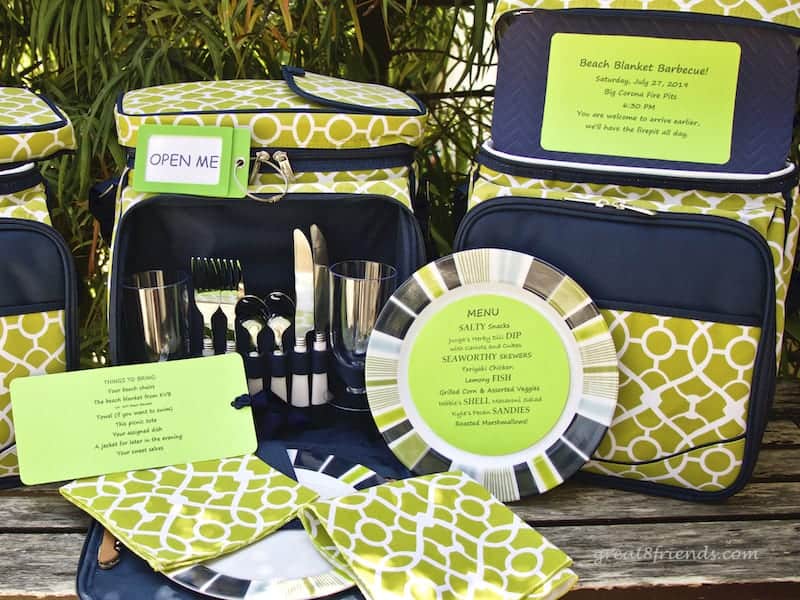
I found these Gr8 picnic coolers on sale and decided to get one for each couple.
My thinking was that I was going to need to buy plastic dishes anyway so why not give everyone their dishes with a cooler to bring? (And that way everyone took home their dirty dishes!!!!)
Also, because I bought these, there was no party favor, which I normally love to give.
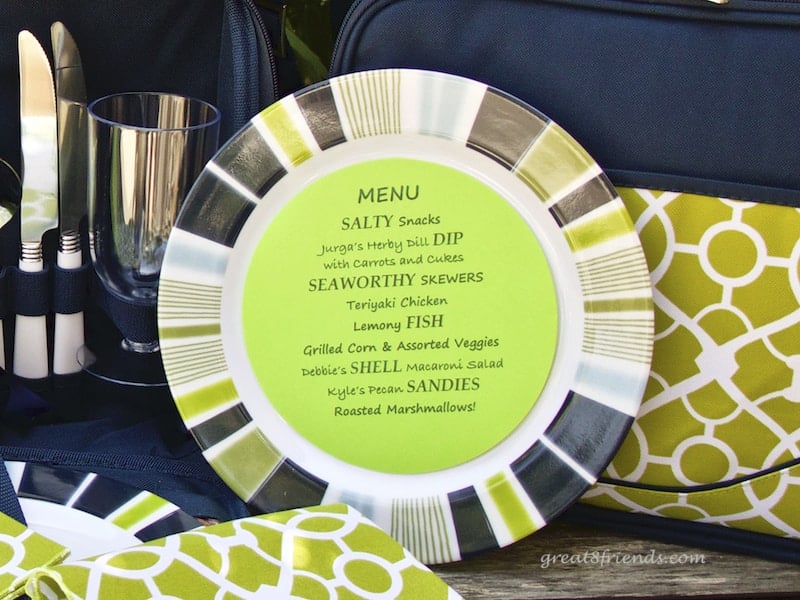
Then I just printed up the invitation, menu, and what to bring and added it to the cooler. Easy enough to drop on each porch!
Beach Barbecue Menu
Beverages
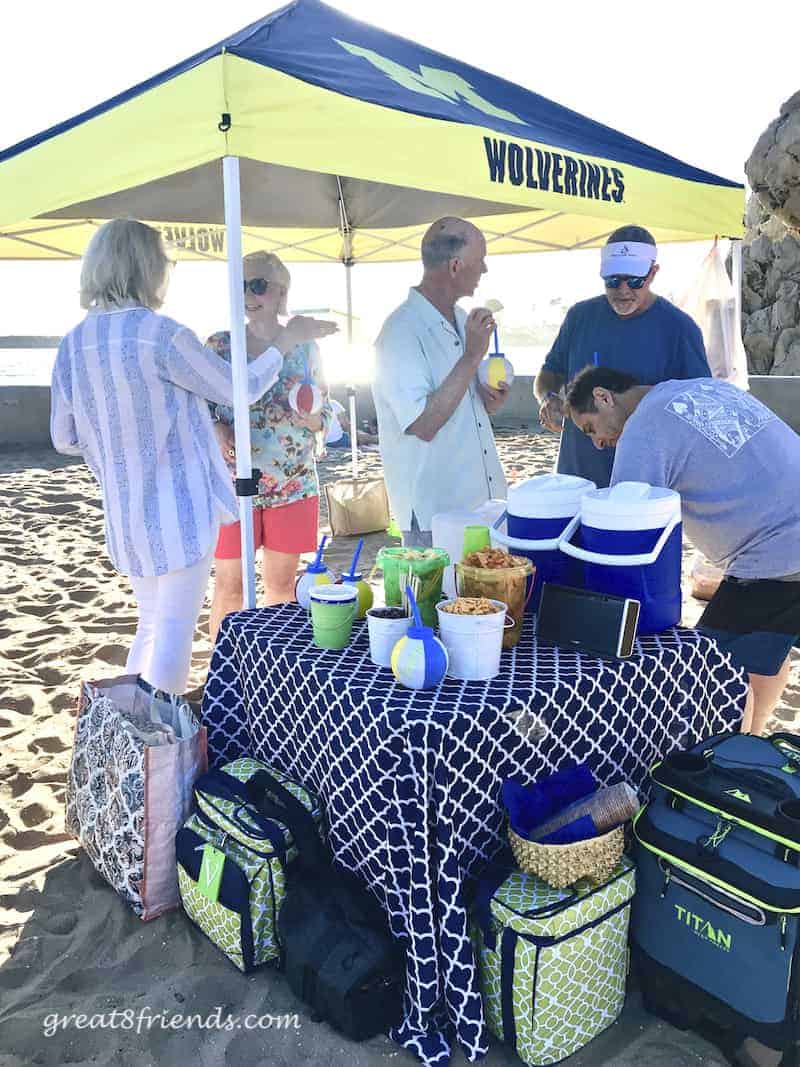
- Summer Breeze Cocktail - We made a big batch and put it into a 2-gallon cooler with a spigot.
- Rosé Wine - We also put the wine into a drink cooler with a spigot. This ensured no glass at the beach.
- Water - we bought one of the 2.5 gallon water jugs with a spigot and set it on the table next to the other 2 drink coolers.
- Anything each guest wanted to bring in their cooler
- And don't forget extra ice! A clean cooler dedicated to the ice is a Gr8 solution.
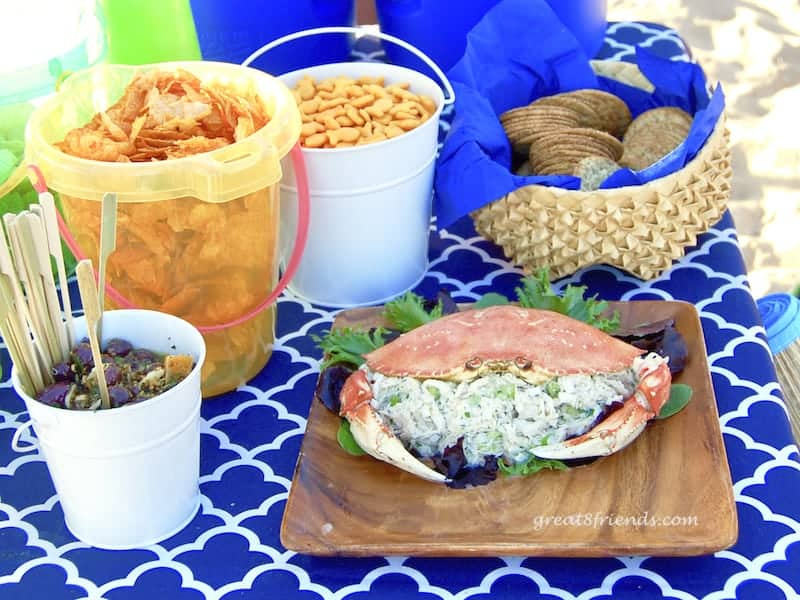
Salty Snacks
- Marinated Olives
- Crab Salad with Crackers
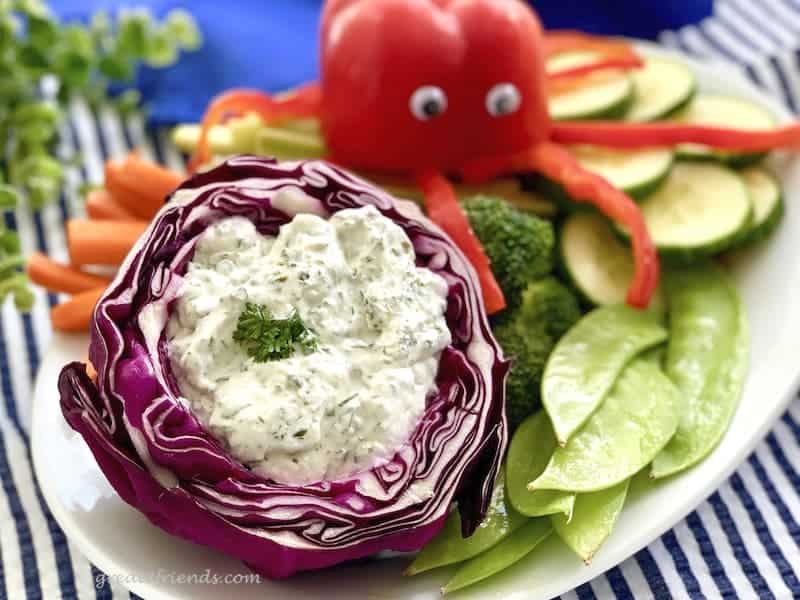
- Jurga's Herby Dill Dip with Veggies
- Goldfish
- Potato Chips and Onion Dip
Main Course
- Teriyaki Chicken Skewers with Pineapple
- Lemony Fish Skewers
- Beef Skewers - three kinds of protein is a lot. The next time, I would choose one or two, just to make it easier.
- Marinated Vegetable Skewers - I used our Grilled Vegetables Recipe and just marinated the veggies before threading them on the skewers.
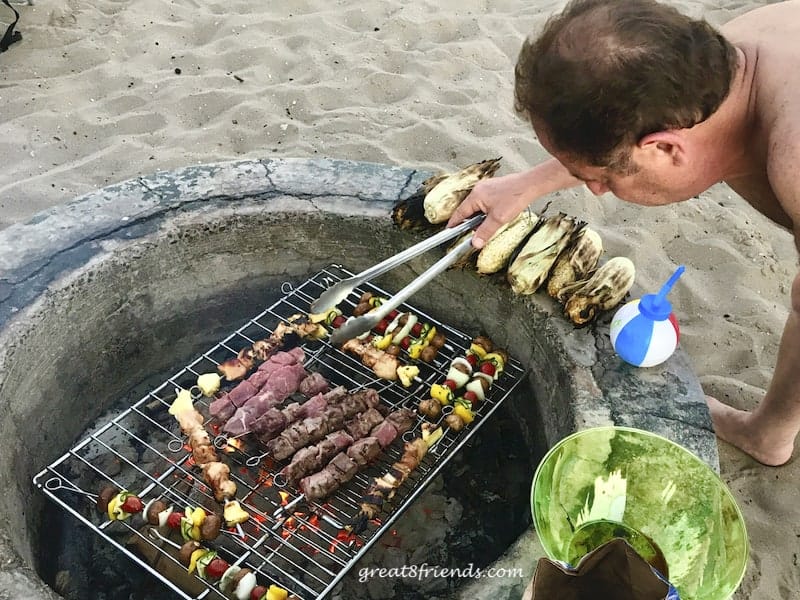
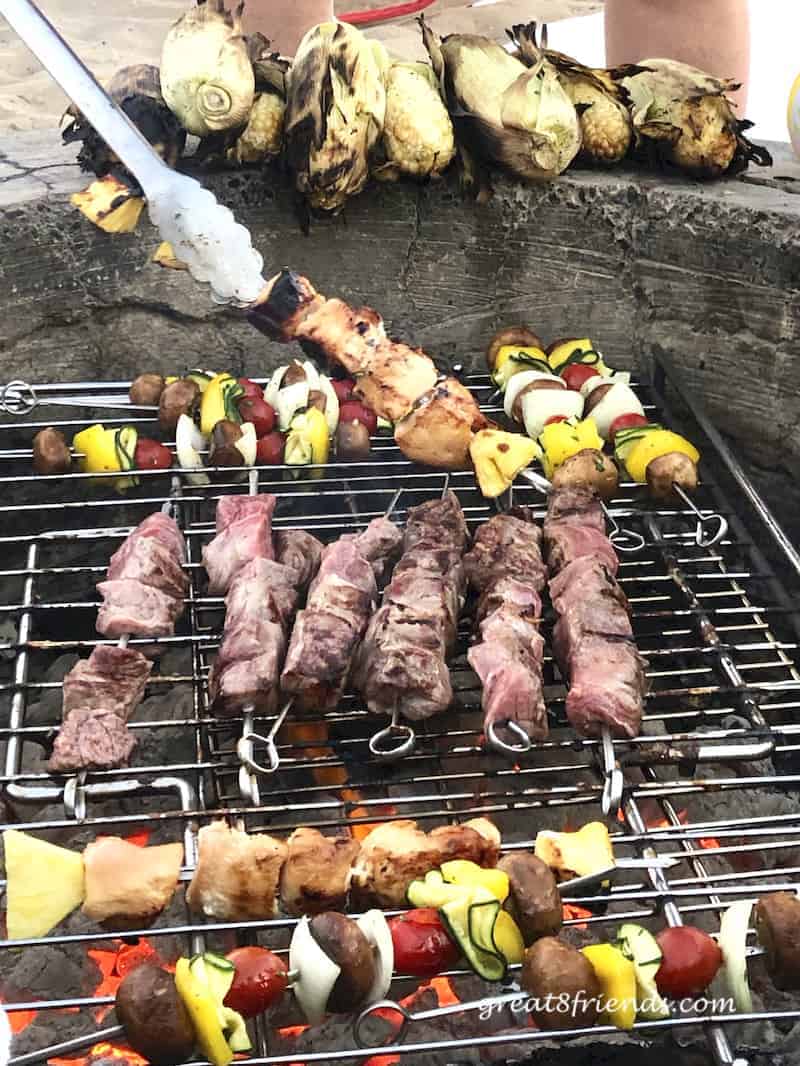
- Grilled Corn on the Cob - we peeled down the husks, removed the silk, slathered the cob with butter, then "resealed" the husks around the corn. Put them on the grill like that and they sort of grill and steam. Then when done, just move them to the side of the fire to keep warm while everything else cooks.
- Debbie and Phil's Shell Pasta Salad
Side Note: The real barbecue campfire flavor always makes the food taste special.
Dessert
- Pecan Sandies
- Roasted Marshmallows (of course!)
How to Prepare the Food for Transport
The Marinated Olives were a perfect choice because olives can be served at room temperature with no negative effects.
I put them in a round plastic covered container and transferred them into a cute little metal sand pail to serve.
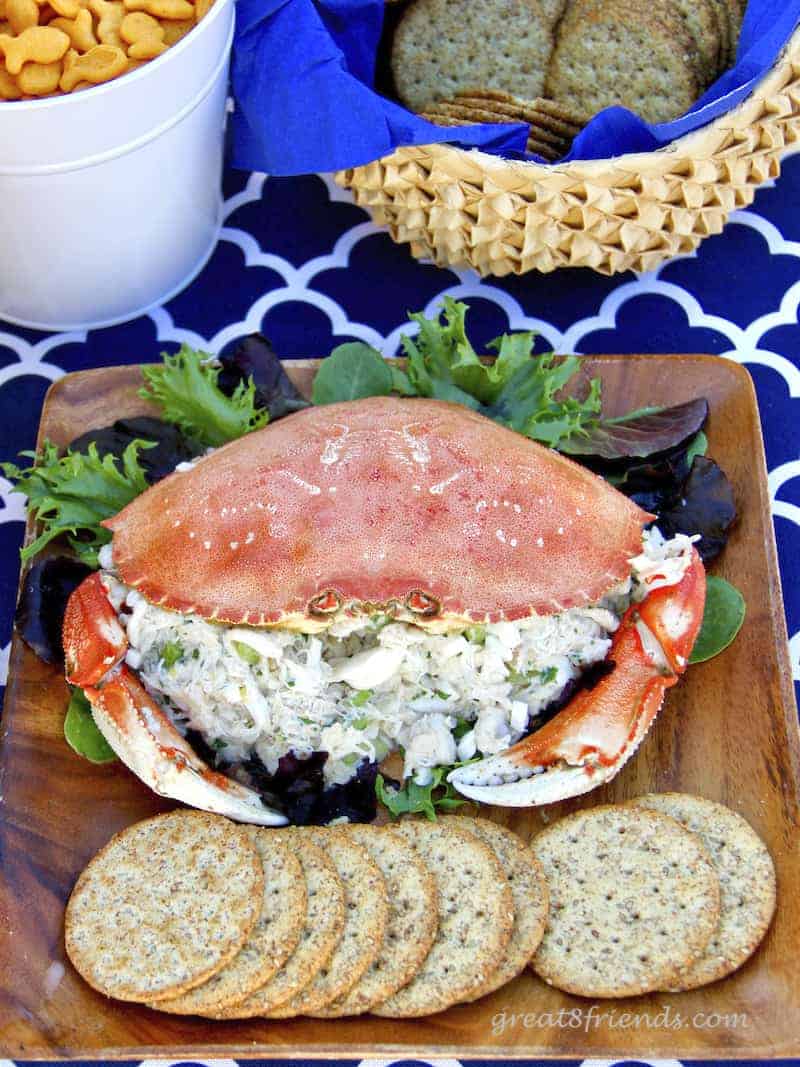
Once I made the Crab Salad and put it on a fairly deep plate, I wrapped it tightly in several layers of plastic wrap to keep the juices from dripping out during transport. Then I kept it refrigerated until just before putting it in the cooler when we were ready to leave.
The goldfish were a no brainer, when we arrived at the fire pit we just dumped them from their packaging into a large plastic sand pail, and the same with the potato chips.
The onion dip got the same treatment as the olives, a small sand pail. Go to a dollar store to find the sand toys for serving. Very affordable!
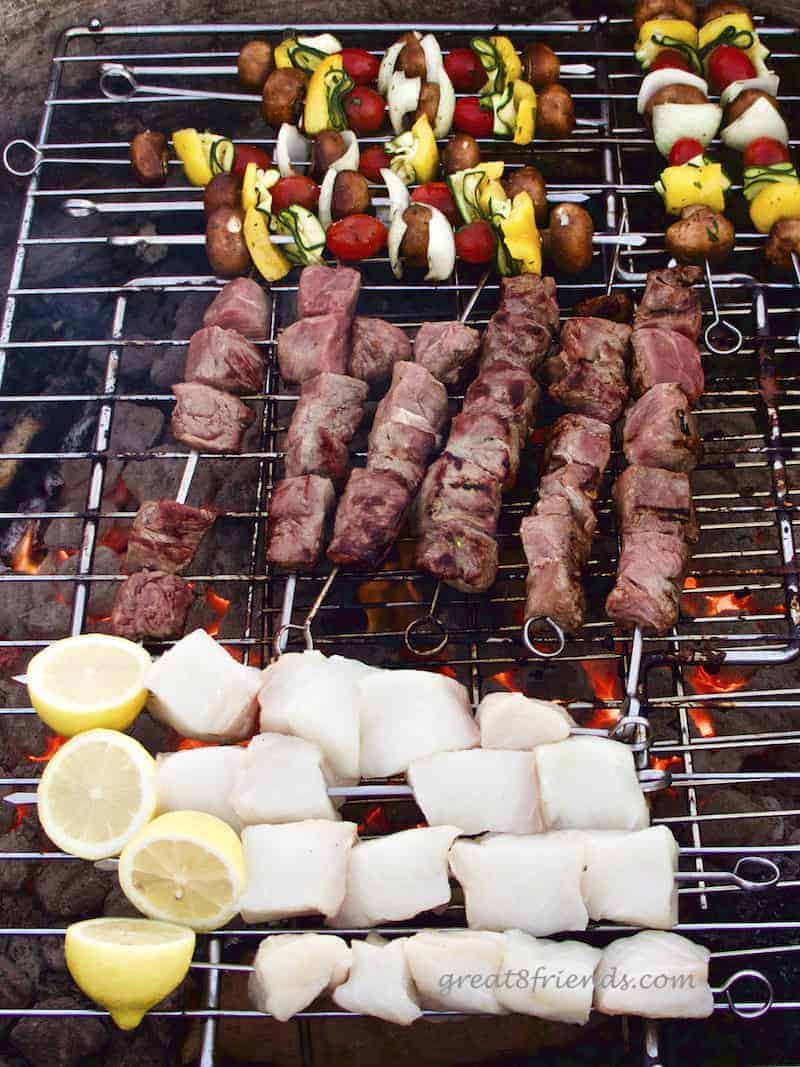
For the skewers, I did all the cutting up and marinating ahead of time. Then before leaving the house we threaded the meats and veggies onto skewers. (We used metal skewers because we figured they would hold up better on the open fire.)
I used disposable 9"x13" aluminum pans to hold the skewered meats and vegetables for transporting. Wrapped well in foil, they didn't leak.
If you don't have a large enough cooler ask a friend or neighbor if you can borrow one. We actually ended up using two smaller coolers which made it easier for us. Just make sure whatever cooler you choose will accommodate the 9"x13" tins of skewers.
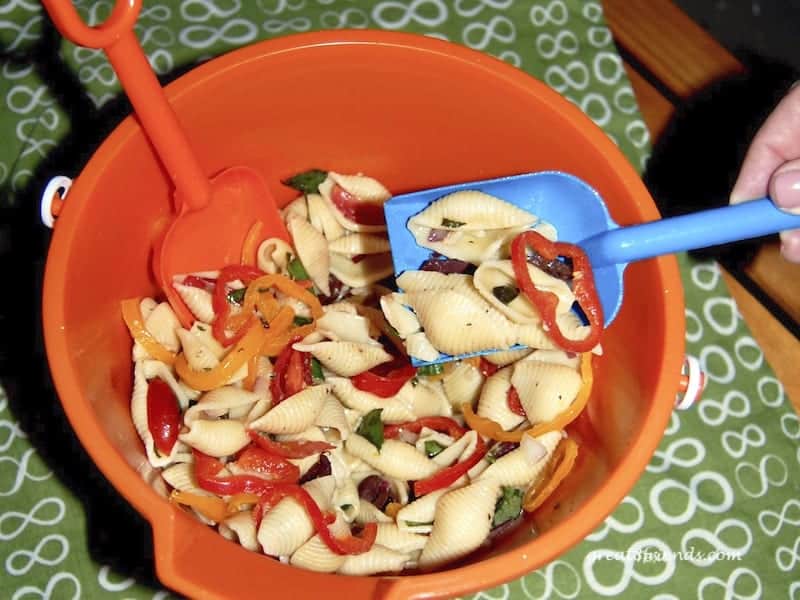
The corn was easy to transport, once prepared, we just carried it to the beach in a plastic bag. And Debbie brought her Pasta Salad in a zippered plastic bag and transferred it to a plastic beach pail when it was time to eat. So cute!
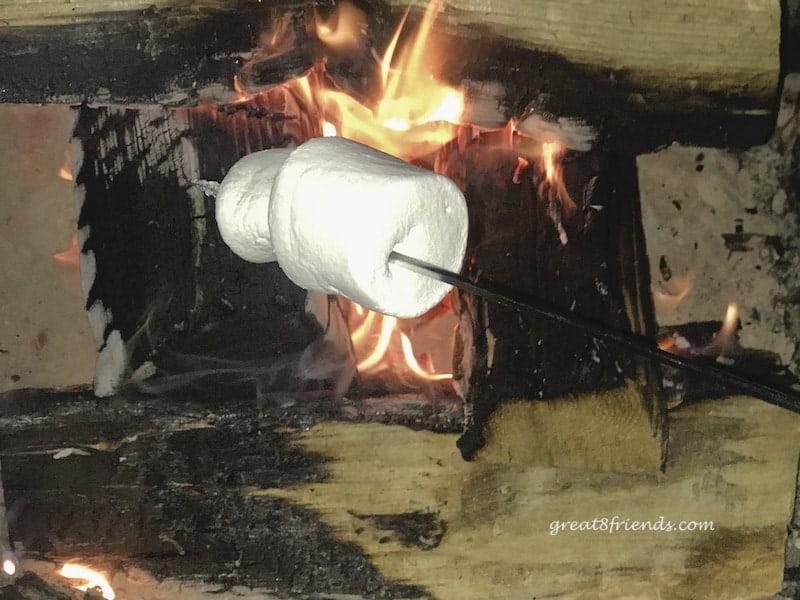
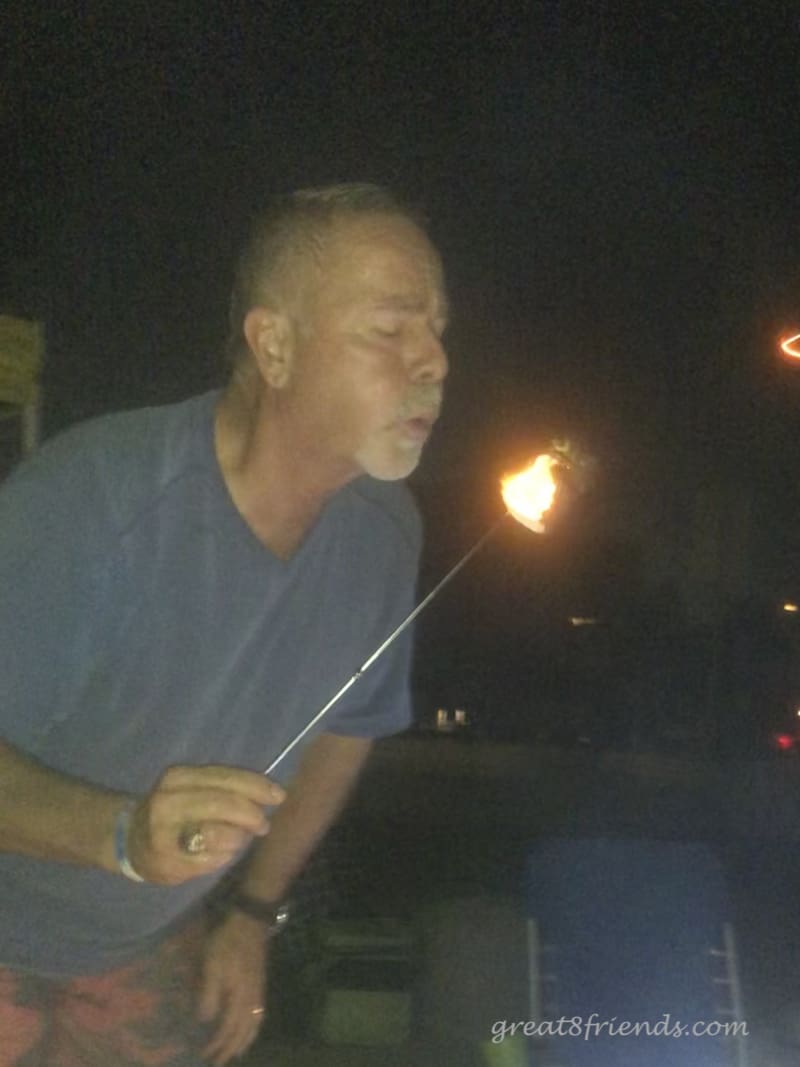
The cookies and marshmallows were the easiest things to carry to the beach! And don't forget long sticks for roasting! A beach barbecue isn't really fun without roasted marshmallows!
At the Beach
Once you are at the beach, set-up the tables and lay out the drinks.
Wait to set out appetizers until your guests arrive. No reason to have food sitting out getting warm or soggy.
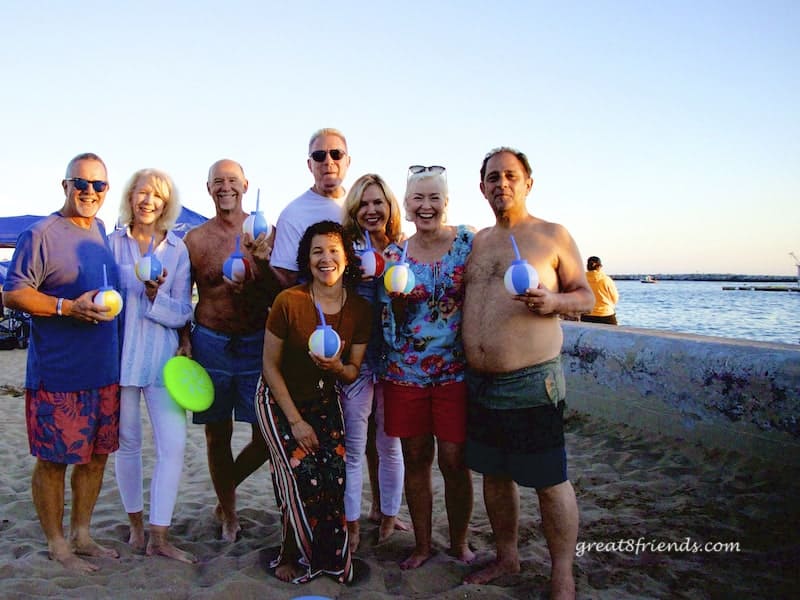
Figure out when to start your fire based on when your guests are arriving.
We allowed almost 2 hours for games and appetizers. So we started our fire about an hour before we wanted to eat.
Vince cooked the corn first then moved it to the side of the fire to stay warm while he cooked the steak, fish, chicken, and veggies.
Once the meats are cooked, slide them off the skewers into the bowls. Put the servings spoons into the bowls, lay the corn on the platter, and add the pasta salad to the mix.
We left the meats and vegetables on the rim of the fire pit to stay warm.
Once everyone is done eating, they can scrape their own plates into the trash bag and put them away.
Then add the wood to build up the fire and set out the marshmallows and long sticks for roasting, and set the cookies on a tray. You can also serve coffee at this time, if you like.
Beach Barbecue Logistics:
Lists of What to Bring
First of all, task your guests with bringing certain things. Here's what we decided would be helpful for people to provide for themselves:
- Beach chairs - it's easy for each person to carry their own, harder if you have to carry ALL of them!
- A beach blanket - we ended up not using the blankets, so maybe not necessary, unless you want to create a "floor" to put all the chairs on. Your call.
- Towels if they wanted to swim.
- Their brand new picnic tote with dishes!
- Assigned dish to share.
- A jacket for later in the evening - or use the beach blankets!
In addition to the food and drinks, here's what we brought to a beach barbecue and how we divided it up for easy access:
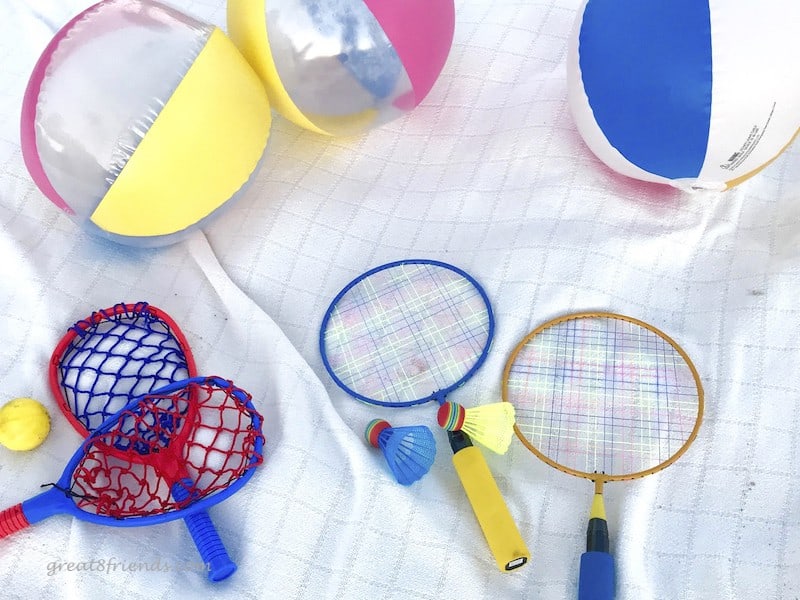
Larger Items - Put the toys and speaker in 1 large reusable shopping bag
- A card table for the drinks and appetizers. So people don't have to keep bending down to access.
- A low table for next to the campfire for supplies
- Tablecloth for the card table - if it's large enough to hang over the edges, it can hide a lot of the bags that you bring!
- Pop-up canopy if you are getting to the beach early enough to need sun protection, for you or the food!
- Our beach chairs
- A couple of blankets - either for the sand or for the chill in the air later in the evening.
- Bluetooth speaker for music - Phil was our DJ and we had Gr8 rock 'n roll all evening long!
- Beach toys!! Frisbee, beach balls, paddle ball, etc.
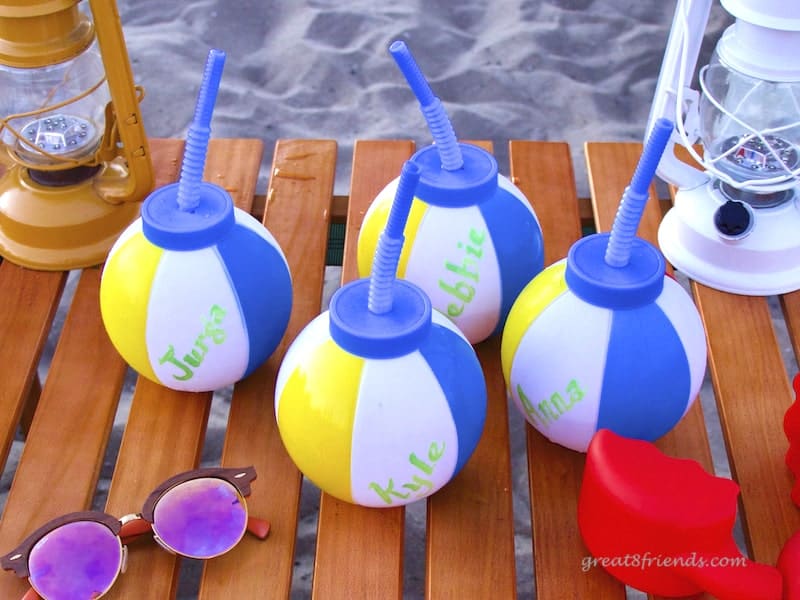
Serving Items and Paper Goods - 2 large reusable shopping bags accommodated these items
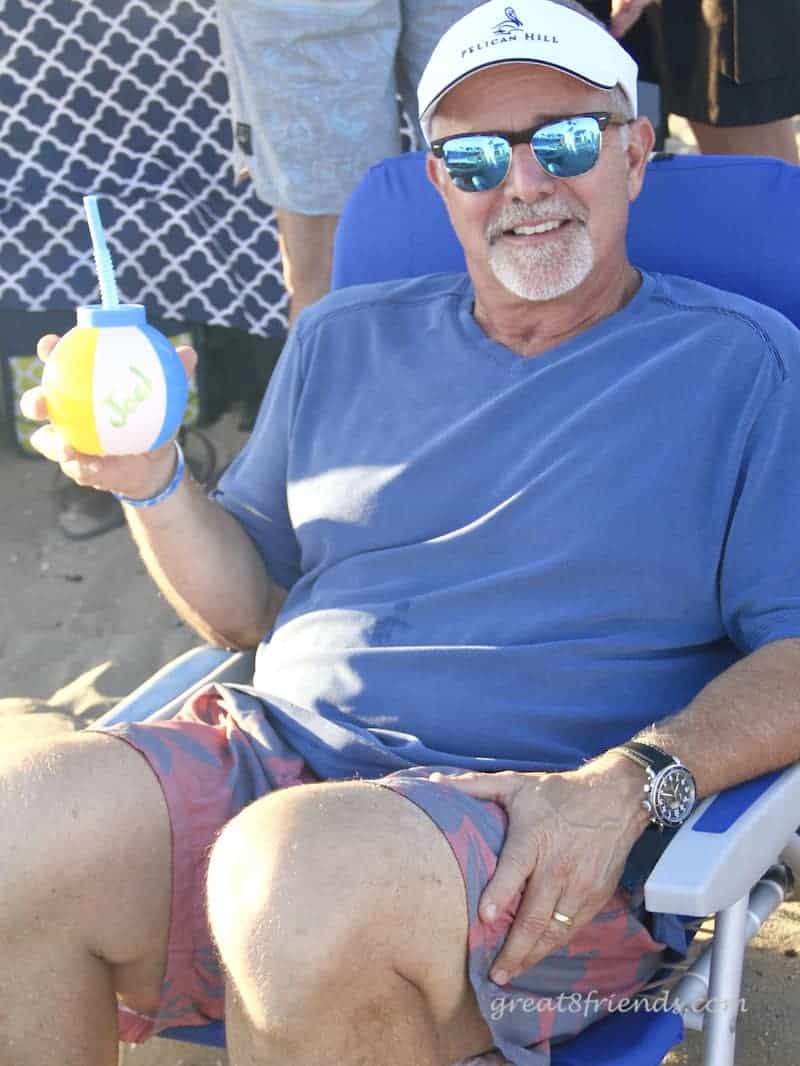
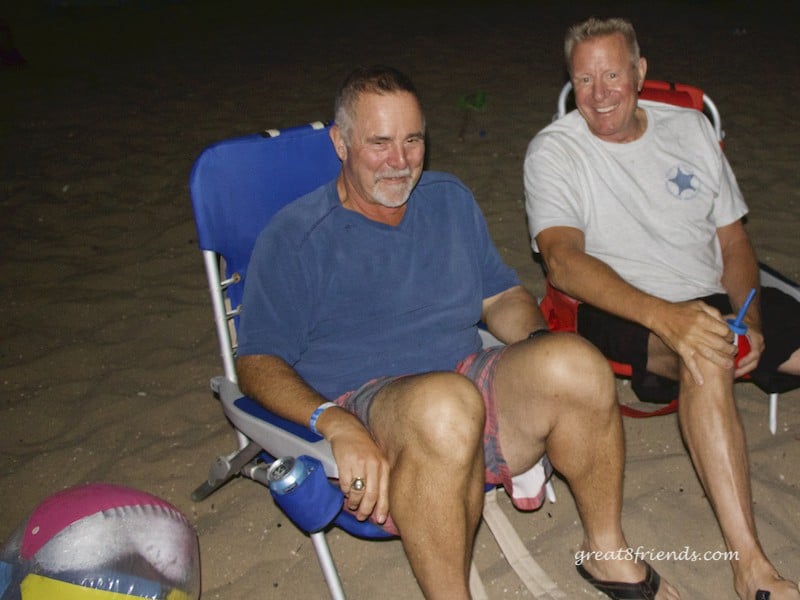
- Cups for the drinks - I bought plastic beach ball shaped "cups" at the dollar store and wrote a name on each of them so no one could get confused.
- Serving utensils - spoons and tongs - either your own or pick up plastic ones at the party store. (These are always nice to have on hand in case you need extras.)
- Serving platter for the corn on the cob
- Bowls for the meats and veggies. We removed the meats and vegetables from the skewers into bowls after cooking to make them easier to serve and eat. That way no one was flinging pieces into the air trying to get them off the kabobs while balancing food on their laps!
- Sand Pails (or bowls) for the chips, dips, crackers and olives
- Long sticks for marshmallow roasting
For Cooking - 1 reusable shopping bag worked to carry the smaller items
Before doing all this planning for a beach barbecue, check your local beach to make sure you are allowed to have an open fire at the beach. Our beach has both barbecues and campfire pits.
We chose to use the fire pits, so this list was created for that purpose. Most of the things on the list will also work if you use a barbecue.
- Charcoal and/or wood - depending on what is allowed at your beach. We started with charcoal for cooking, then later added the wood to get a fire so we could roast the marshmallows. (And for the ambience!)
- Lighter Fluid - if you don't buy the light-able charcoal
- Lighter or very long matches
- Folding Grill Grate - to set over the charcoal for cooking. Make sure you buy a size that will fit in your particular firepits.
- Something to push the coals around, we used a long metal tongs
- Tongs for cooking
- Hot mitts (don't forget these!)
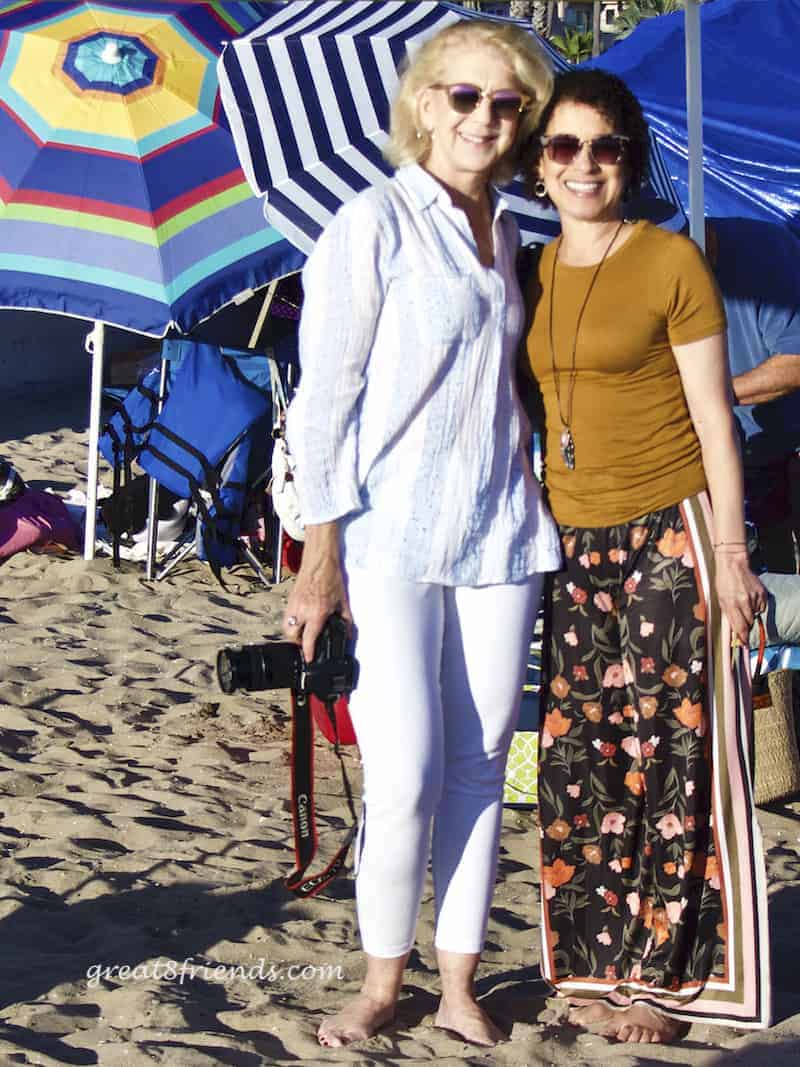
Miscellaneous - in 1 reusable shopping bag
- Paper Towels
- Wet Wipes - these come in handy, especially after the marshmallows!
- Large trash bag - don't be a litter bug!
- Zippered bags for the leftovers
- Toilet paper if your beach is not well stocked
By keeping "like" items together, you will have an easier time of 1) ensuring that you have everything you need; and 2) being able to find it once you are at the beach.
So, this is definitely a dinner party you should give. And by following this guide we hope it will be easier for you. Have a Gr8 Time!


Anna
Now there's a GR8 idea! Thanks Marti!
Marti Longo
What a great way to take advantage of our beautiful natural landscape. I can’t wait til ‘y’all hit the road for a music city dinner!
Anna
Thank you Lon! We always have a Gr8 time!
Claudia Kerns
Fabulous!!!! Looks like so much fun and the food looks awesome!! Go Ladies!!!