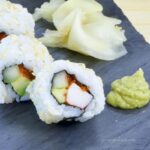
Homemade Sushi is fun to make and this California Roll is the easy recipe to start with!
Have you ever attempted making sushi? It all looks so mysterious. Debbie and Phil have a tradition of making sushi every Valentine's Day.
I've always wanted to try my hand, but the opportunity never presented itself; until Kyle and Joel asked me to make California Roll for their recent Gr8 Dinner! (Yay for dinner parties giving me the opportunity step outside my comfort zone!)
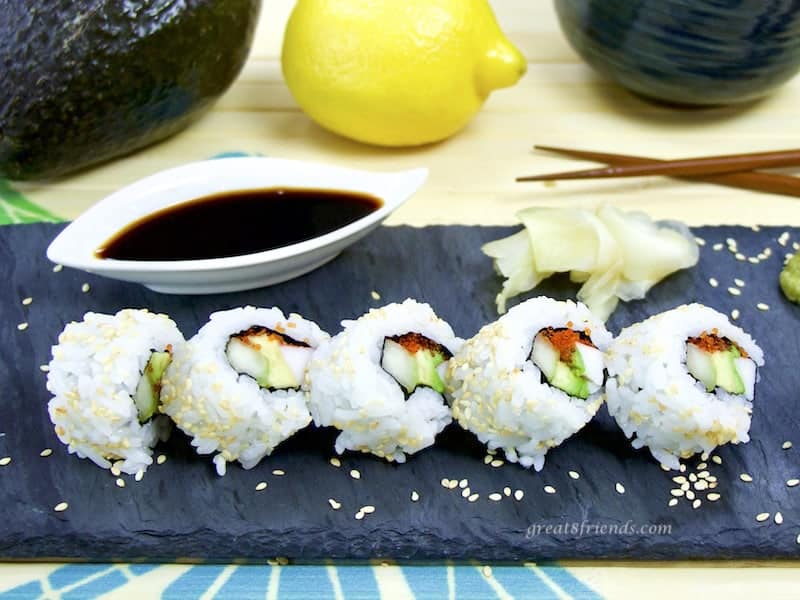
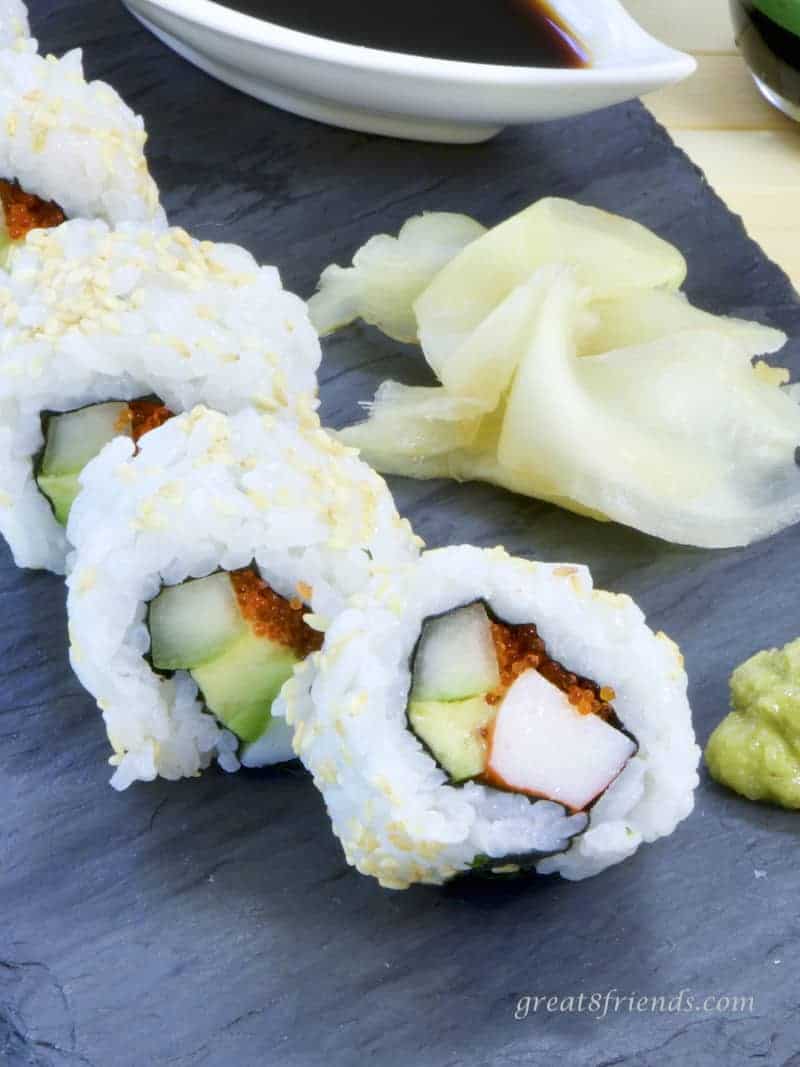
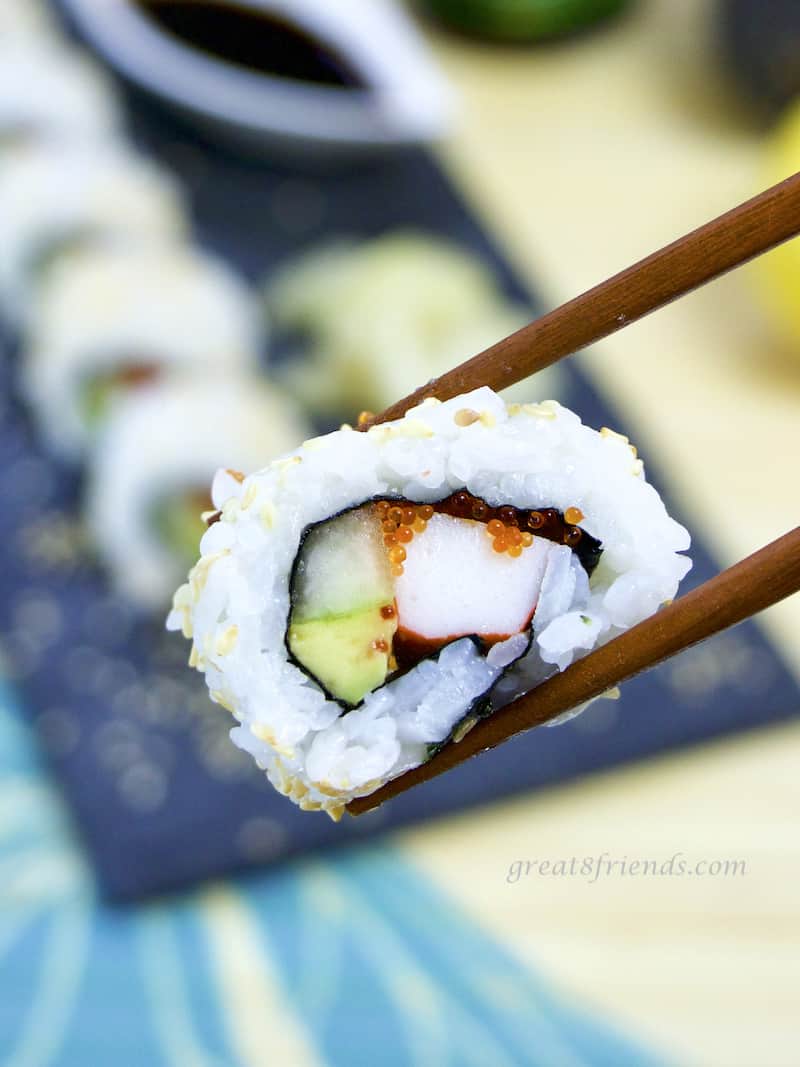
California Roll is the perfect "beginner" roll to start your sushi making journey. It's full of the perfect shapes to make it easy.
The most time consuming and tricky part is the sticky rice. If you don't want to try making it, you can buy it at a Japanese market or maybe even just buy it "to go" at your local sushi restaurant. I enjoyed making it, it's a very calming process.
I always like to know how and where people get their ideas for different foods, so I did a little research.
According to Wikipedia, the origin of the California Roll is disputed between a chef in Vancouver, B.C. and a chef in Los Angeles. Smithsonian.com reports that Japan has honored the Vancouver chef with being the creator.
IMHO, since it is named "California" Roll, (and since I'm from California!) I'm going with the Los Angeles chef. But it's not really for me to say!
Hopefully, this recipe looks easy enough that you'll want to try making this yourself. It really is fun!
How about a party where you set out all the sushi making ingredients and roll your own?! If you make this, please let us know in the comments below.
This post contains affiliate links which means Great Eight Friends may earn a small commission if you click on the link. There is no additional cost to you. As an Amazon Associate we earn from qualifying purchases.
I shopped at Mitsuwa Marketplace for all the sushi making products. (They are also in Chicago, New Jersey, Plano and Waikiki.)
Homemade California Roll
Special Equipment
- Bamboo Sushi Mat
- Rice paddle
Ingredients
- 2 sheets Nori seaweed
- 2 cups sushi rice
- 4 ounces surimi, imitation crab sticks, you can also use fresh crab
- 1 cucumber, seeded and cut in ¼" wide sticks
- 1 half fresh avocado, cut in ¼" wide sticks
- 1 Tablespoon fresh lemon juice
- 4 Tablespoons tobiko, (flying fish roe)
- 2 teaspoons toasted sesame seeds
- Wasabi paste, for serving
- Pickled ginger, for serving
For Sushi Rice
- 2 cups short grain rice
- Water
- ½ cup rice vinegar
- 2 ½ Tablespoons sugar
- 1 ½ teaspoons sea salt
Instructions
Stove-Top Sushi Rice
- Here is a Gr8 video showing the process of making sushi rice.
- First, place the rice in a large bowl and fill with cold running water, letting the water hit your hand to disperse as it goes onto the rice. Gentle is the key word. You don't want the water to break any of the grains.
- Swish your hand through the water and the grains then carefully drain the water off the rice and repeat this process until the water is clear. Be sure you are using cold water.
- Drain one last time and gently refill with cold water. Let the rice soak for at least 20 minutes. All the grains will become a lovely bright opaque white.
- While the rice is soaking, place the vinegar, sugar and salt in a small saucepan and gently heat over medium heat until the sugar and salt is absorbed. Remove from heat and let it cool to room temperature.
- When the rice is finished soaking, drain one last time and place the rice into a heavy saucepan with a lid. (I use my enameled cast iron pot.)
- Fill the saucepan with about 2 ⅓ cups cold water, again gently. Place your hand flat on top of the rice, the water should come over the rice to the top of your pointer finger knuckle.
- Place the pan over high heat and bring to a boil. Cover, turn the heat down to low and simmer for 15 minutes.
- Then remove from heat and let stand covered for another 15 minutes.
- When 15 minutes is up, loosen the rice from the sides of the pan and gently dump into a flat pan, I used a 9" x 13" glass casserole. If any of the rice sticks to the bottom of the pan, leave it there. Those stuck grains will compromise the texture of the rest of the rice if you force them from the pan.
- Pour half of the vinegar mixture over a spoon onto the rice and gently turn the rice to mix. Then repeat with the rest of the mixture. Continue gently turning the rice mixture over and over until well mixed.
- Let cool at room temperature. Your rice is now ready to make your sushi!
Assembling the California Rolls
- Prepare your bamboo rolling mat by covering it with plastic wrap. This will make your whole process easier, including clean up!
- Break the seaweed sheets in half across the short way. Half of my seaweed sheet was 7 ½" x 4".
- Lay one half of a seaweed sheet on your prepared bamboo mat, shiny side down.
- Wet your fingers and take about half a cup of rice and spread it over the seaweed edge to edge. You can also use a rice paddle for this, but I like to use my dampened fingers.
- Sprinkle ½ teaspoon of sesame seeds over the rice. Then carefully flip the seaweed sheet over so the rice is against the rolling mat and the seaweed is on top. (This is where the sticky rice helps!)
- Lay a ⅓" wide strip of surimi the length of the edge of the seaweed. Next to that lay a row of cucumber slices and a row of avocado slices. I sliced my surimi in half long ways so it would fit better.
- Then distribute a Tablespoon of tobiko down the length of the vegetables.
- Now you're ready to roll! Lift the edge of the bamboo mat and gently roll up the sushi, gently pressing the ingredients together as you roll, until the edges meet. If your rice is sticky and the roll isn't overfull, the edges should meet and the rice should stick.
- Run a sharp knife under water and carefully slice your California Roll into 1-¼" wide pieces. You should get about 6 pieces.
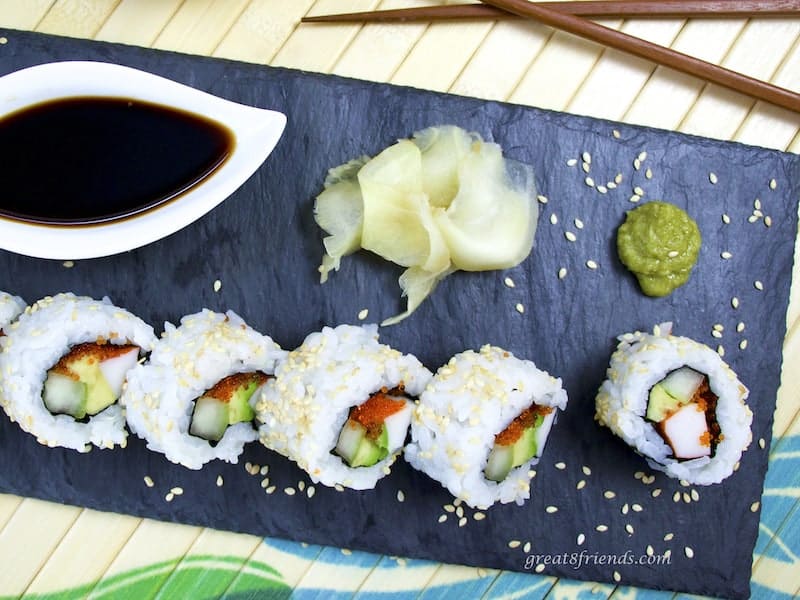
- Serve with wasabi, pickled ginger, and chopsticks. Enjoy!


Be a Gr8 Friend and tell us what you think!