You’re at the store buying a gift and they ask if you’d like a gift box. “No thank you,” you say. “I’ve got one at home”…only to find out at the last minute that you actually DON’T have one at home! Well, that's where I come in! Here you go! The best way to Wrap it Up! Quick, easy and cute! I’m all about that when I’m in a hurry. Boy will they be impressed! Just 3 “ingredients” and you’re out the door.
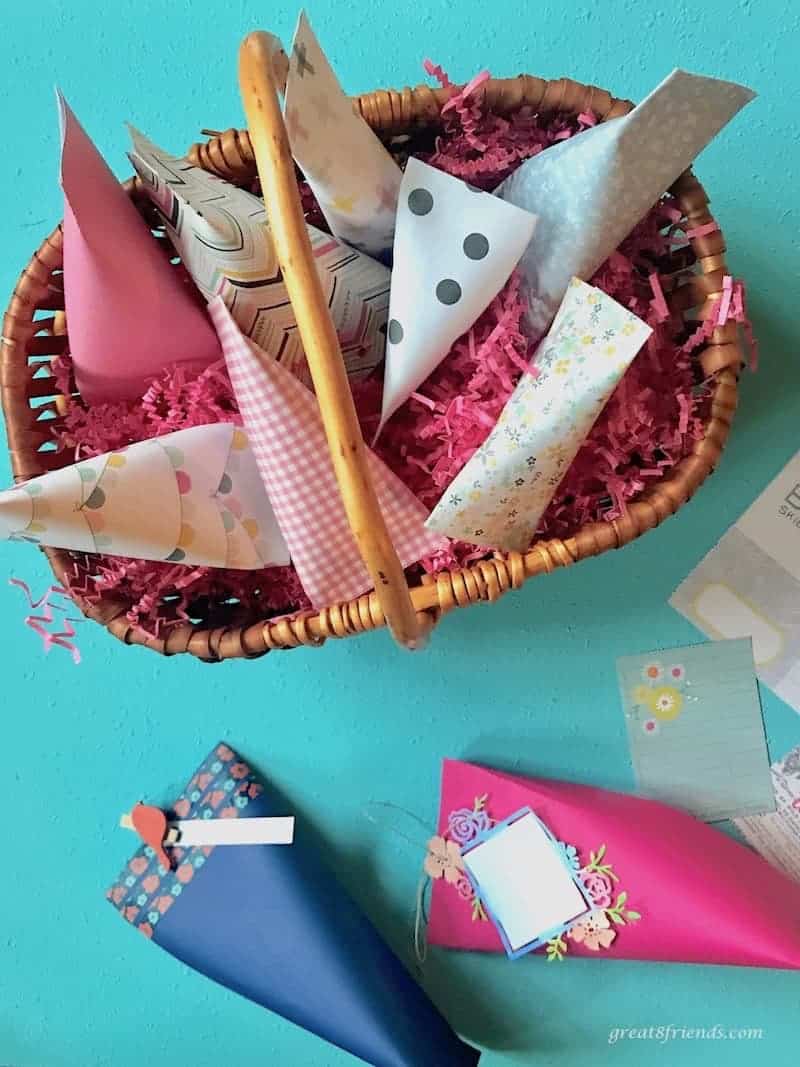
Whether it’s a pretty little necklace or a piece of clothing, this is such a fun way to wrap a gift. It’s an even more fun way to receive one. Birthday, Christmas, Valentine’s Day or even party favors, choose the pattern paper according to the occasion and get started!
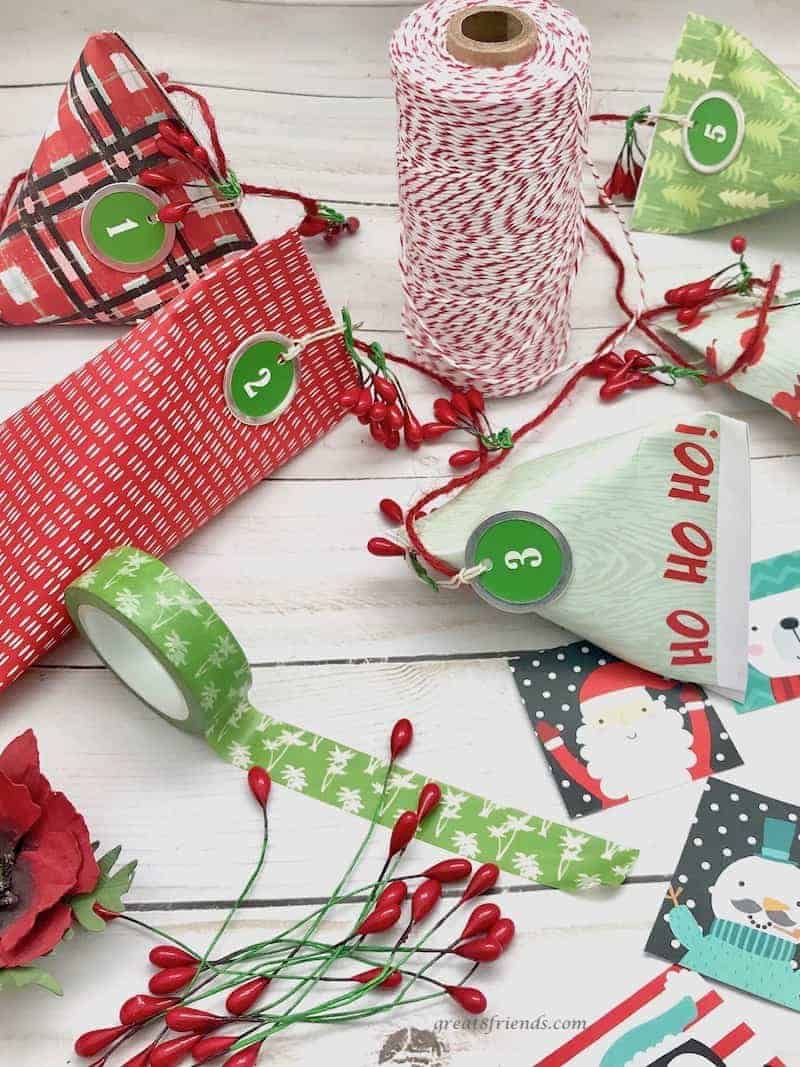
Thinking Christmas? If you don’t have an Advent Calendar like the one in our Elf post, how cute would these be when individually numbered and strung on the mantle or in a festive bowl for them to search the day’s date.
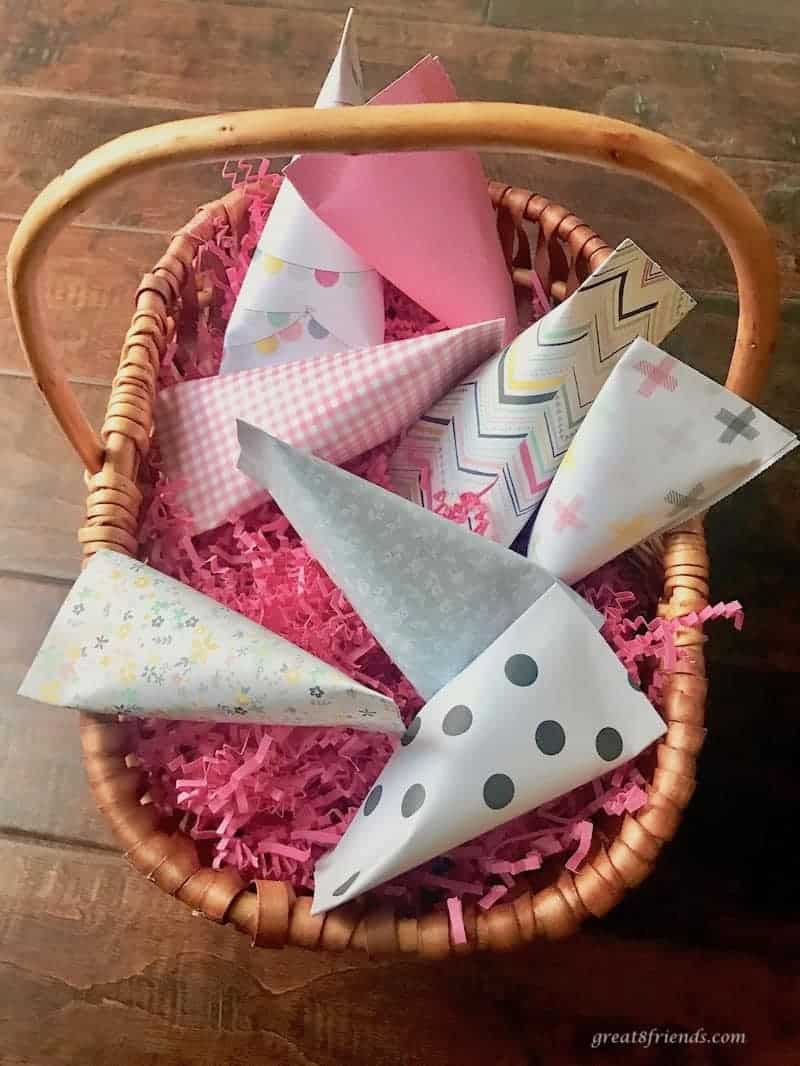
As party favors, how cute are they all piled up to give each guest before they leave.
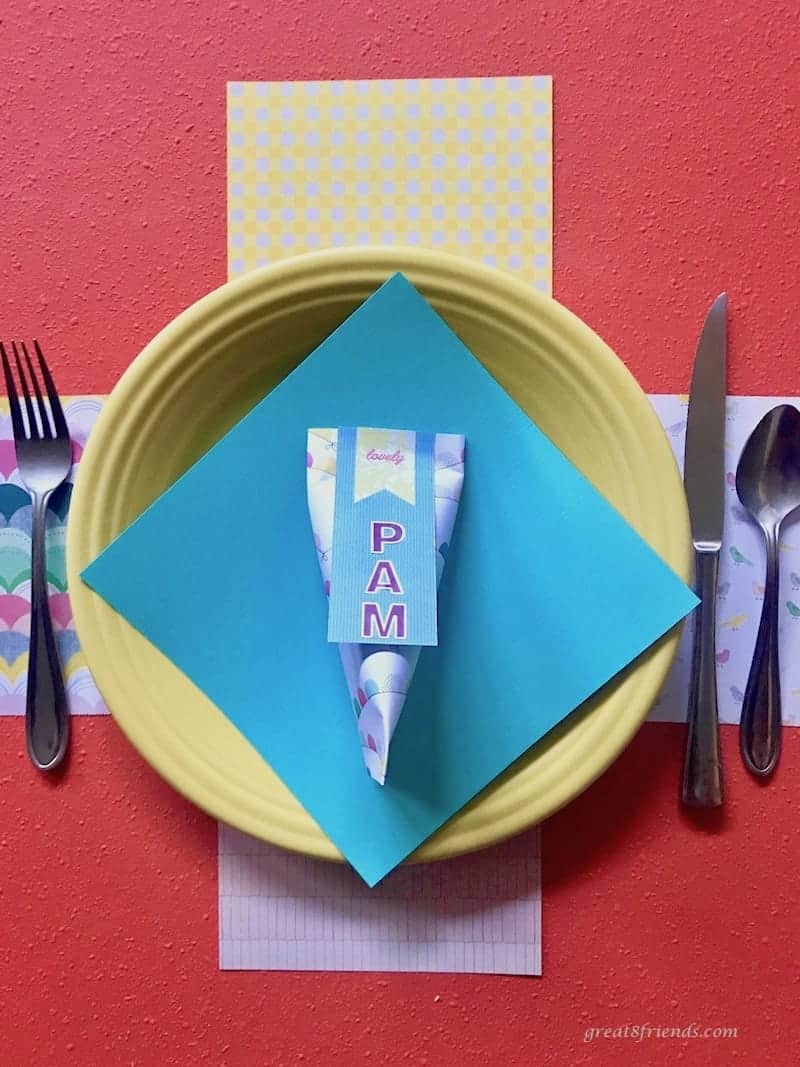
For those smaller gatherings, set them at each place setting to double up as a place card.
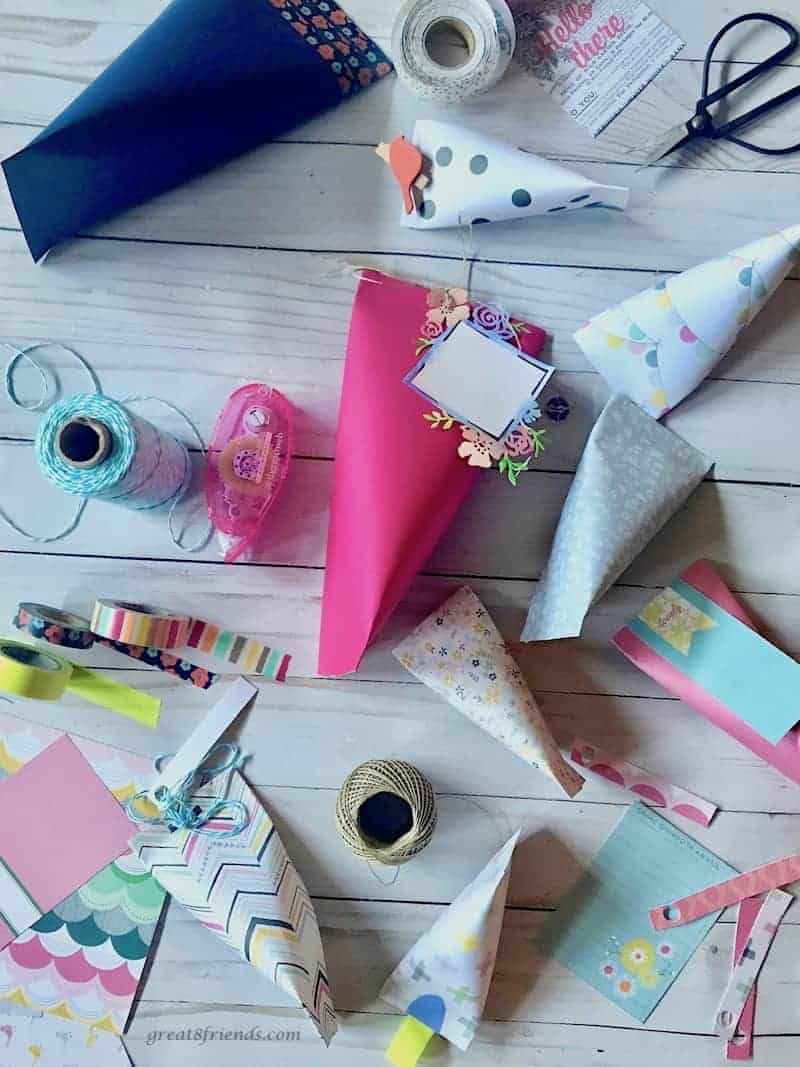
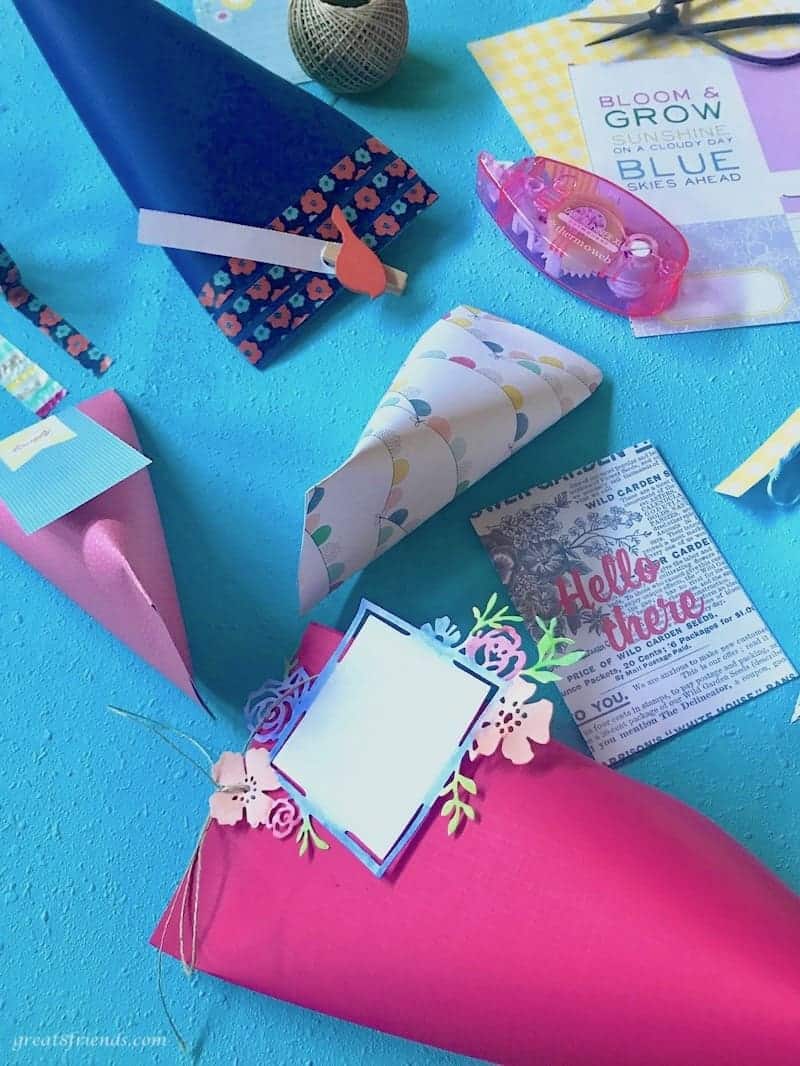
The larger the gift, the larger the paper. A few additional “ingredients” jazzes it up, giving that little extra personal touch.
How quick, easy and cute was that?! There you go friends! That’s a wrap!
Time to Wrap It Up
Ingredients
- 1 12" or 8-½" x 11" * piece of cardstock, patterned or solid
- 1 double sided tape or papercrafting tape runner
- 1 piece twine or ribbon
Instructions
- Center the gift on top of the cardstock. If it's a patterned paper, you want the gift against the "wrong" side of the paper. If it's a double sided patterned paper, make sure that the side you like best is down, against the table. *See Gr8 tip below.
- Pull the 2 long sides up, making sure the ends overlap about ½". Keeping a good amount of space above the gift item. You don't want it to be snug.
- Remove the gift.
- With your adhesive (double sided tape or tape runner) run the tape just against one side of the long edge of the paper.
- Connect the adhesive side against the other long end creating tube, making sure not to press or crease the paper. The patterned side you chose should be on the outside of the "tube".
- Using the double sided adhesive, run a strip of tape inside the short end edge of the tube, closing one end like a pouch.
- Wrap the gift item in some tissue, if necessary, and place it inside of the "pouch."
- Here's where the gift wrap takes its cute shape. Pinch the other end, creating like a "pillow" shape, don't crease it anywhere.
- Let go and now pinch it in the other direction. Add a strip of the double adhesive inside the area of that last pinched end. Voilà!



Be a Gr8 Friend and tell us what you think!