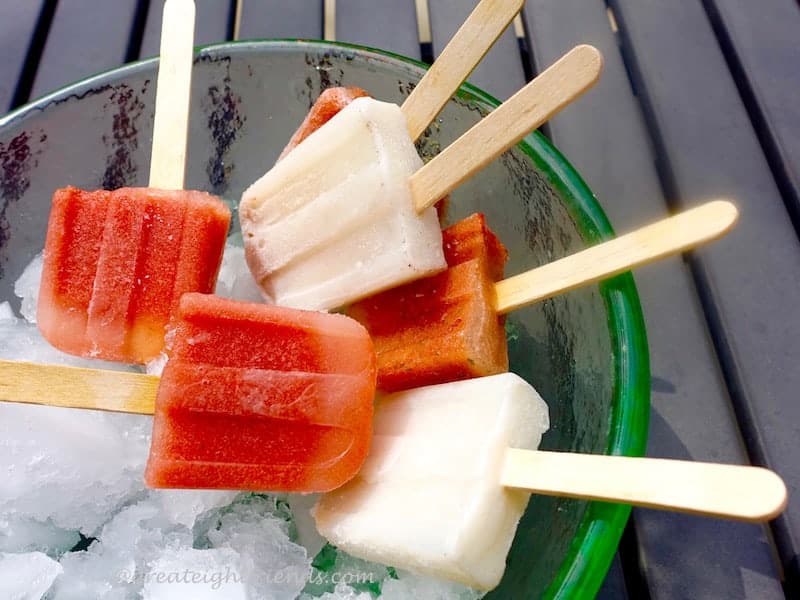
My daughter, Alex, recently graduated and wanted to have a little get-together serving tacos and homemade ice pops. The ice pops were challenging on a couple of levels.
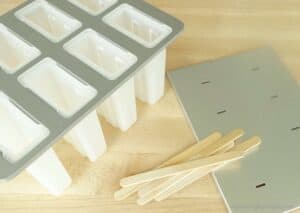
First, she wanted MINI ice pops. This stumped us for a while, until my creative daughter-in-law suggested only filling the molds halfway. Since the mold we have uses the wooden sticks, this worked perfectly!
The second challenge was how to serve them? You couldn't leave them on a dessert table. We could have put them in an ice chest, except my ice chests are not very pretty.
The solution was to put some on a tray and serve them as you would an appetizer, and refill as needed. Since the party was small and in our home, this worked great. The other option would be to fill a bowl with crushed ice and nestle the ice pops into the ice with the stick up so people can easily grab them.
I was apprehensive about serving ice pops for dessert, but Alex took the lead and started experimenting with flavors. We had some successes and some failures, as with any experiment! The first failure was the Pacifico Pops. Since we would be serving tacos, we thought beer pops would be fun...not so much! When you first set your taste buds on a dessert, you expect sweetness, not BEER! We quickly ditched that idea. (Though, for reference, a bottle of beer filled up eight ice pop molds, halfway.)
Then she experimented with other alcohol concoctions for a boozy treat. In the end, we decided on simplicity and made two flavors, Watermelon-Lime-Basil and Horchata.
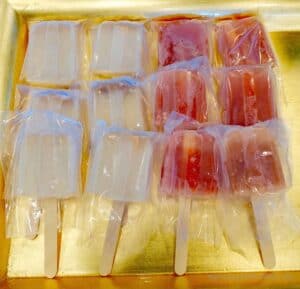
The making of the ice pops was an easy process, each morning she would make a batch of the juice, fill the molds and freeze them. Late in the day, she would remove the pops from the molds, put in individual plastic bags to store in the freezer and make another batch to freeze overnight. Then she repeated the process the next day. That makes 16 pops a day so we had plenty after 3 days of prep.
It was a fun treat to offer at the party on a sunny summer day!
Mini Watermelon Lime Basil Ice Pops
Ingredients:
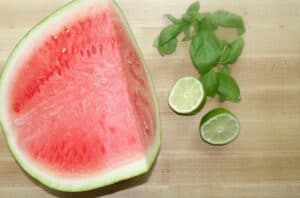
- 1 ½ cups puréed watermelon
- 4-5 basil leaves
- Juice from ½ a fresh lime
- Dash of salt
- 1-2 Tablespoons simple syrup or extra fine sugar, if required
Directions:
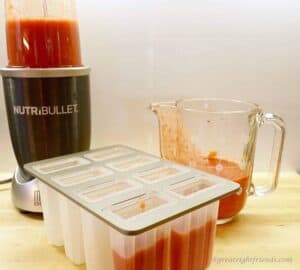
- Put all ingredients except the sugar into a blender and blend until well combined
- Taste, add sugar if necessary (This will depend on the sweetness of your watermelon)
- Pour into Ice Pop Mold (only filling halfway if you are making mini-pops)
- If using a mold with the separate sticks, freeze for about an hour, then add the sticks. This will enable them to stand straight in the treat.
- Unmold and serve.
This makes 8 mini ice pops. If you want to make the full size pops, just double the recipe.
Gr8 Tip:
If you are making more pops than your mold will hold, remove the first batch from the mold and package in individual plastic bags. Then store in the freezer until ready to serve.
Gr8 Do-Ahead Tip:
These can be made up to a week ahead of time. Keep in the freezer until ready to delight your guests with a fun frozen dessert!


Be a Gr8 Friend and tell us what you think!